Making A Website 07 - A New Header & Footer
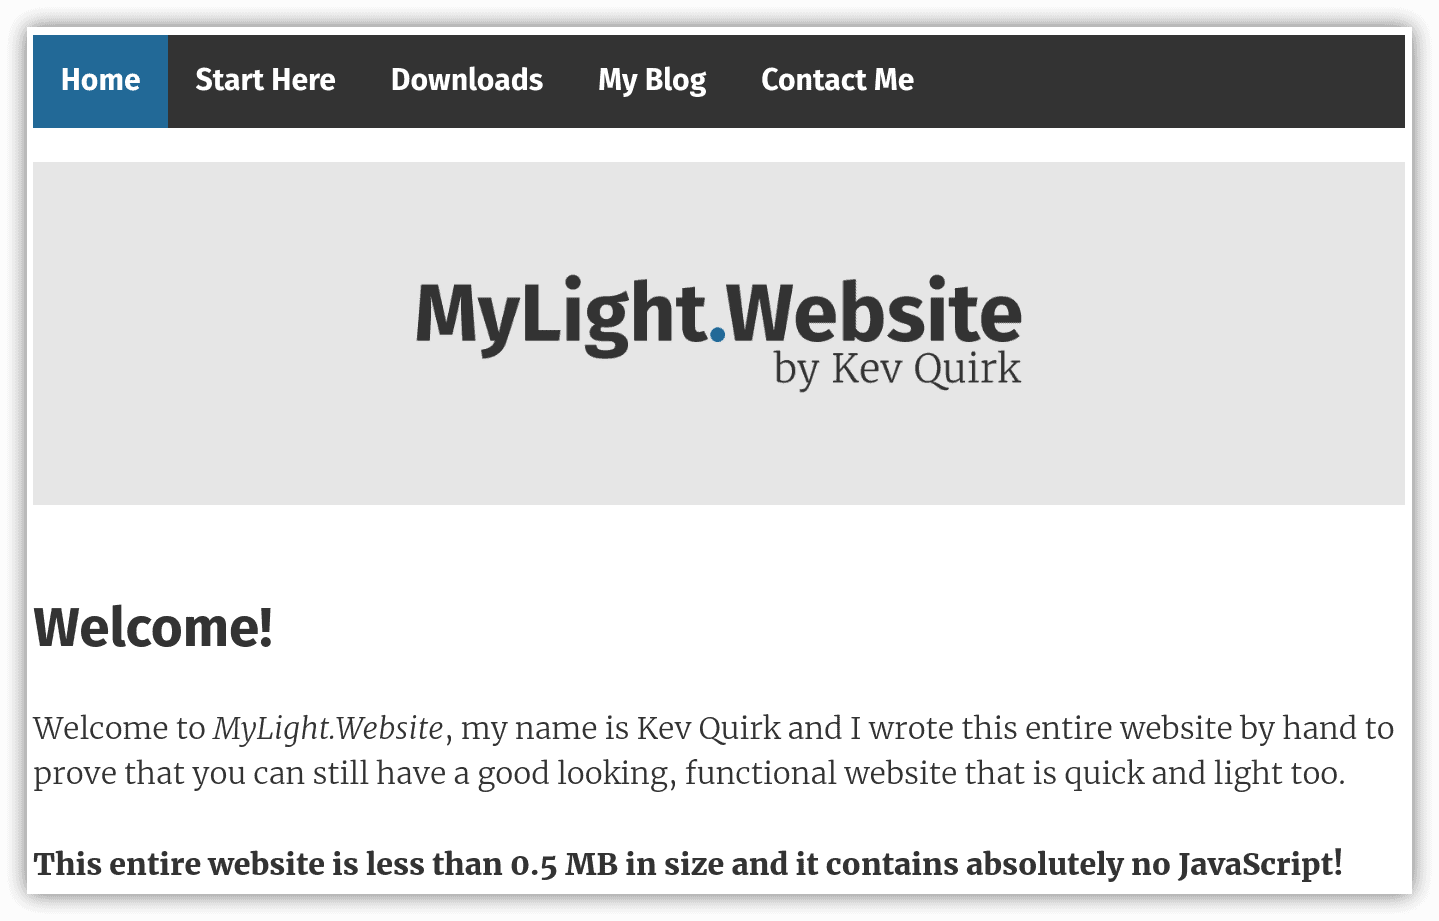
The making a website series was done and dusted. If you were following along on mylightwebsite.kevq.uk, you probably have a pretty nice looking website at this point.
However, I decided there was more I could do. So in this post we're going to be making a few changes to our light website:
- We will change how the site header looks.
- There will be new menu that you can update from a single place and the change will be reflected site-wide.
- We will also add a footer.
Improving The Header
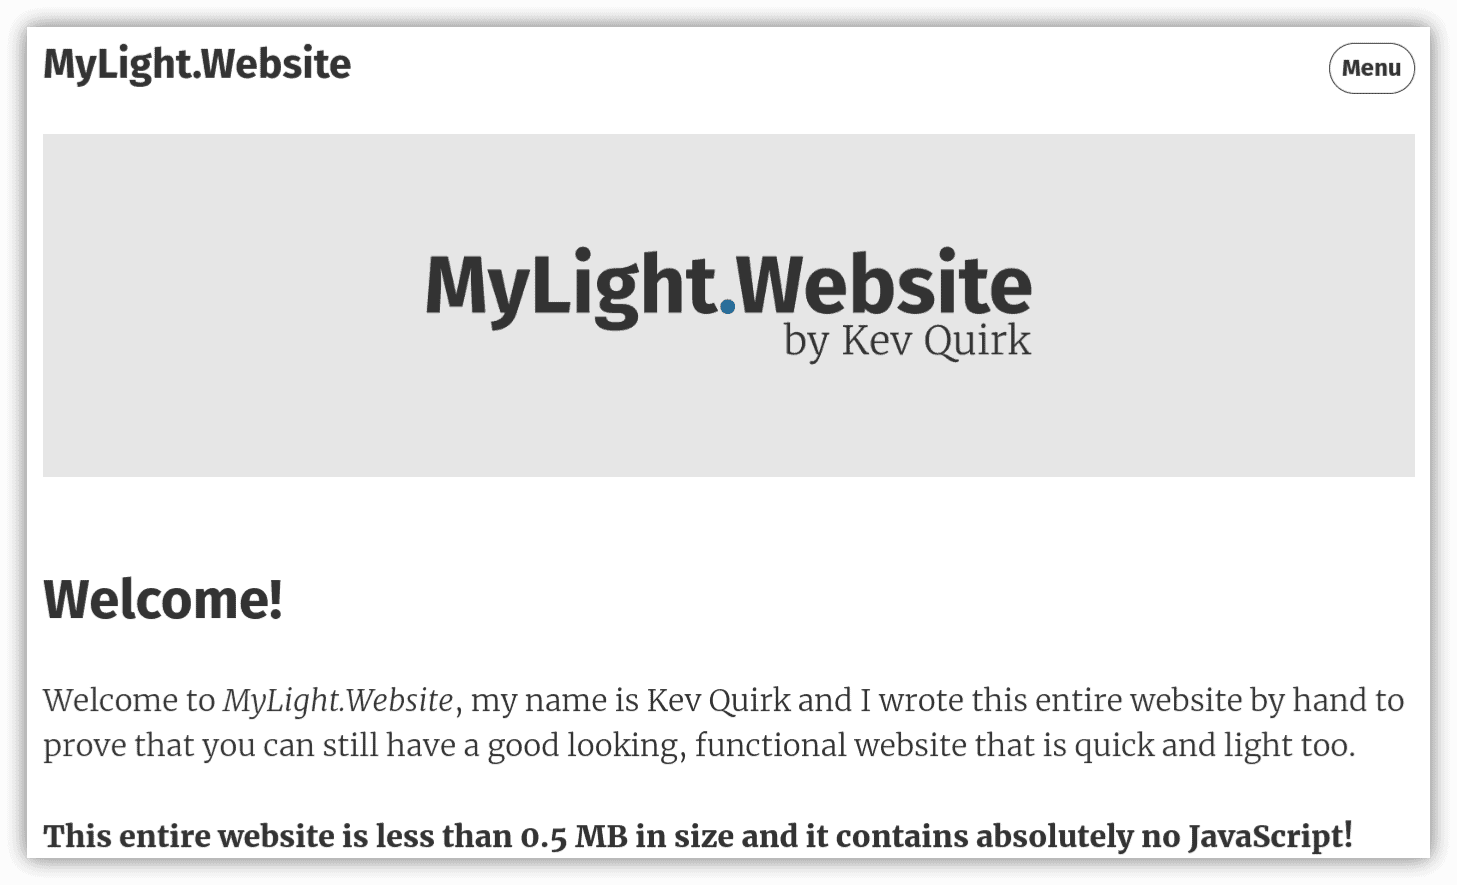
By the end of this post, the header on your light website should look very similar to the one on this website. You will have a single Menu button, which will display your navigation menu when clicked.
Here's the best part; the new navigation menu is a separate HTML file. This means you won't need to edit the HTML on every page when you add/remove pages. Cool, huh?
This change involves a lot of edits to both the HTML and CSS of your site. So I would recommending downloading the source code for this step from mylightwebsite.kevq.uk to see all the changes made.
You will notice the addition of menu.html. This is the navigation menu that is loaded when you click the Menu button within the header. So if you want to make changes to your menu globally, all you need to do is edit that file.
Previously, the navigation links were at the top of each page, and would have needed to be edited per page if you made a change to your navigation menu. Now the header HTML of the site looks like this:
<!-- *** START HEADER *** -->
  <div class="header">
    <p class="sitelogo"><a class="sitelogo" href="/index.html" rel="home">mylightwebsite.kevq.uk</a></p>
    <p class="menu"><a class="menubtn" href="menu.html">Menu</a></p>
  </div>
<!-- *** END HEADER *** -->
Simply delete the old nav menu from your HTML pages and paste the new header code between the <body> and <div class="main"> lines.
Make sure you replace mylightwebsite.kevq.uk with whatever the name of your site is, as this is the “logo” that will be displayed in the header.
CSS Changes
Finally, you need to overwrite the old navigation CSS with the new stuff. You can do this in one of two ways:
- Overwrite your entire stylesheet with the new one. If you do this, any edits you have made to the CSS will be lost.
- Delete the
Format Nav Barsection of the old stylesheet. This is lines 30 - 59 by default. Then replace them with theFormat The Headersection (lines 30 - 80) of the new stylesheet.
Here's a before and after to show you what the changes you have made should look like:
Unfortunately, by adding this type of menu to the site, we have had to introduce a single line of JavaScript:
javascript:history.back()This tiny snippet is used on the Close button within the menu, and takes the user back to the previous page they visited. Effectively clicking the Back button in their browser.
I could have made this a link to the site's homepage, removing the need for JavaScript, but that would have caused issues (and probably frustration) if a visitor wasn't on the homepage when they clicked Menu.
Adding A Footer
When making a website, adding a footer is commonplace. It can include things like licensing information, useful links that you don't want to put in the main menu, or a message you want to be on every page.
So then, let's add a footer shall we?
The footer styling is added in multiple places within the style.css file. You can do CTRL+F with a text editor and search for .footer to find all the references to your new footer. These will then need to be added to your new stylesheet.
If you copied the stylesheet as a whole earlier, you don't need to worry about carrying out this step, as all the footer styling would have been copied over already.
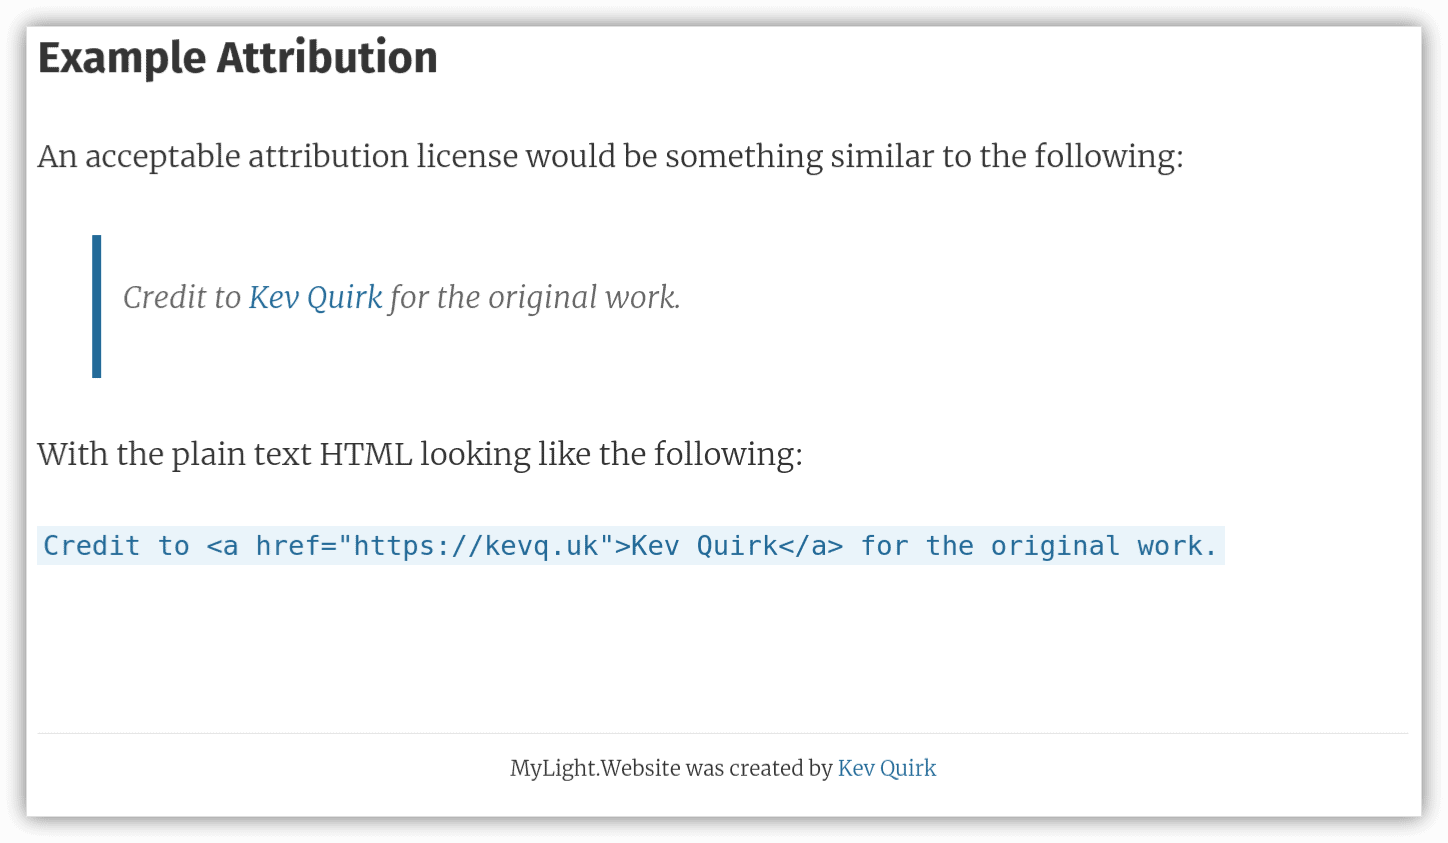
To add the footer to your pages, all you need to do is add the following code above the closing </div>, </body> and </html> tags at the end of each page:
<!-- *** START FOOTER *** -->
  <div class="footer">
    <p>mylightwebsite.kevq.uk was created by <a href="https://kevq.uk">Kev Quirk</a></p>
  </div>
<!-- *** END FOOTER *** -->
Change the message between the <p> tags and abracadabra! You now have a footer on your page. Here's what it should look like:
Conclusion
We had a good looking website before, but now we have a really good looking website.
Having said that, there's still more I can do with the making a website series, so this may not be the last post in the series.
I'm not going to make the same mistake twice, so let's just say that's it for now. I may add more posts in the future, I may not. You will just have to subscribe to find out. 🙂
This post is day 06 of my #100DaysToOffload challenge. If you want to get involved, you can get more info from https://100daystooffload.com.
Subscribe for more!
You don't have to keep coming back here to read my latest waffle. There's a couple of way to subscribe to receive updates whenever I publish new content.