Making A Website 06 - Finishing Touches
| 5 min read
It's time for the final post in my Making A Website series. In this 6th and final post, we're going to be adding some finishing touches to our website. This is mostly going to be CSS changes, to improve our theme.
Custom Fonts
Let's add some custom fonts, shall we? We're going to use the same fonts as I use on this site, which are Fira Sans for the headers and Merriweather for all the body text.
You could add a reference to Google Fonts and simply host them from there, but I prefer not to use external services, especially ones owned by Google. So we're going to self-host our fonts.
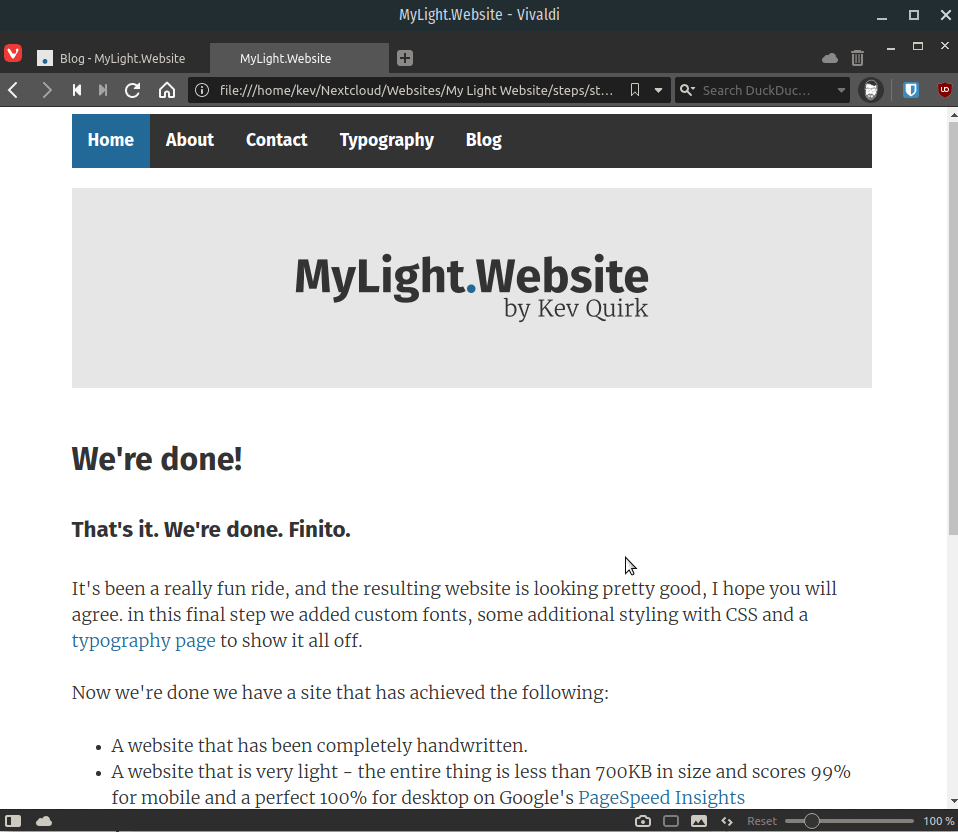
This is relatively easy to do, but it requires both HTML and CSS changes. I recently wrote a step by step guide on how to self-host your web fonts. So go and follow that guide. Once we're done, our light website should look something like this:
Additional CSS
Now we have some slightly nicer fonts on our light website, we're now going to add some additional CSS to format our typography further.
I will cover some of the high level additions, but by the end of this step our style.css file will contain 170 lines of code, so I can't cover it all here. Remember, you can download all of the source code on the downloads page of mylightwebsite.kevq.uk.
Adding Buttons
The first thing we will add to our stylesheet, are buttons. Buttons are basically hyperlinks that are styled differently.
The CSS for buttons works in two parts, just like normal links. The first is to format the raw button, and the second is to format the animation that takes place when you hover or click on the button:
.button {
  padding: 0.5em .5em;
  margin: 0 .5em 0 0;
  border: 1px solid var(--main);
  border-radius: 4em;
  color: var(--main);
  transition: 0.5s;
  line-height: 3rem;
  white-space: nowrap;
}
.button:hover, .button:active, .button:focus, .button:visited {
  background: var(--lighter);
  color: var(--main);
  text-decoration: none;
}
To make a normal link a button, simply add the button class to your hyperlink code. Like this:
<a class="button" href="https://kevq.uk">My Homepage</a>Inline Code
When writing about technical subjects, I like to use inline code highlighting to draw attention to certain elements of my posts. So next we're going to add some CSS to highlight inline code elements on our website.
code {
  font-size: 1.2em;
  font-family: monospace;
  color: var(--accent);
  background: #eaf4fa;
  line-height: 1.25;
  padding: .1rem .2rem;
}
This CSS will give inline code a light blue background, the text will be our accent colour and the font will be monospace. Monospace characters all have the same width and are used in command line terminals.
To add inline code within a line of text, simply wrap the code in the <code> tag, like this:
<p>You can use the <code>ifconfig</code> command to check your computer's IP address</p>Blockquotes
Blockquotes can come in handy from time to time, especially when you're quoting a person/text. Once we're finished, our blockquotes will look something like this:
I wanted to make a light website that not only looked good, but was also easy for people to use and make their own. - Kev Quirk
There are two items we need to format with CSS here. The first is the actual blockquote, and the second is the citation. Here's what the CSS looks like:
blockquote {
  margin-left: 2em;
  margin-bottom: 2rem;
  margin-top: 2rem;
  padding: .4rem .8rem;
  border-left: .35rem solid var(--accent);
  color: var(--light);
  font-style: italic;
}
cite {
  font-style: italic;
  font-size: 0.8em;
}
Adding a blockquote is pretty simple, here is what you need to add to your HTML:
<blockquote>
  <p>Friends don't spy; true friendship is about privacy, too.</p>
  <p><cite>-- Stephen King</cite></p>
</blockquote>
Again, I don't intend to cover all of the CSS elements in this post, you can review the source code yourself for that. But these were some highlights of what I added.
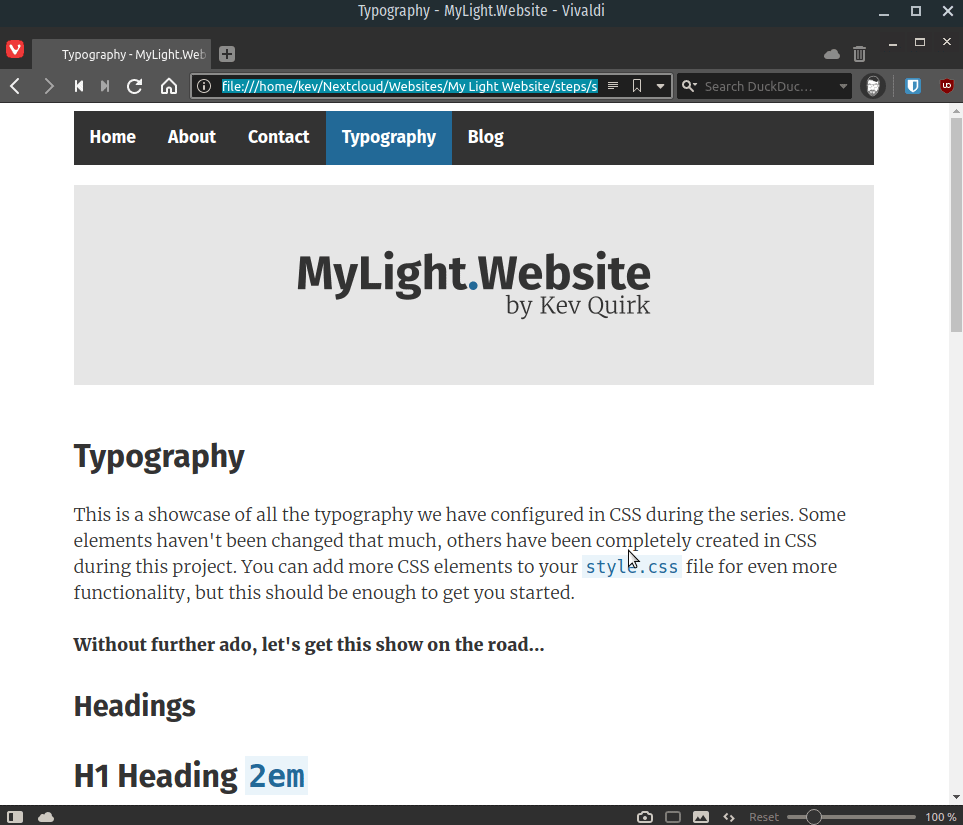
Typography Page
I added a typography page to the light website. You can use this as a reference on how to code the various elements with HTML. It's also a good way of viewing all the different elements on the site, in one place.
That's all folks!
That's it, we're at an end of this whole process. mylightwebsite.kevq.uk is now ready for you to take away and use. If you want to use it as is, feel free, but if you want to play around and make it your own, even better.
Over the course of this series, we have made a website that achieves an awful lot in a simple way, such as:
- The site has been completely handwritten by you!
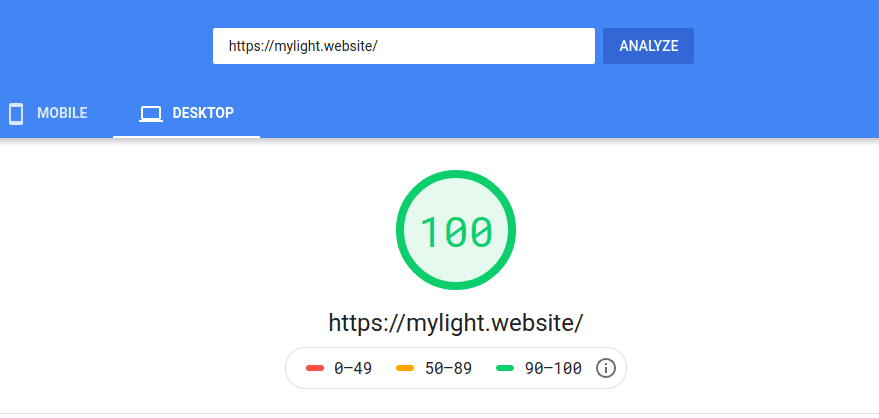
- The entire thing, including images, is less than 700KB in size and scores 99% for mobile and a perfect 100% for desktop on Google's PageSpeed Insights.
- No JavaScript has been added to this site - it's all HTML/CSS.
- It looks good, not only on your computer, but on your mobile too.
- There is a blog that you can use to share your thoughts, ideas and knowledge with the world.
I really hope you have enjoyed this series. If you have any feedback, or if you want to show me what you did with your light website, please get in touch.
Subscribe for more!
You don't have to keep coming back here to read my latest waffle. There's a couple of way to subscribe to receive updates whenever I publish new content.