Making A Website - 03 Menus
| 5 min read
From the previous post, we now have a pretty good looking webpage, but it's now time to turn it into a website. In this post we're going to add additional pages, as well as a menu.
We're also going to start structuring our code a little better, by adding comments. These will allow us to add useful bits of information that help explain what the code does, but they aren't visible on the page.
The Menu
The first thing we need to do is to add the code to our index.html file that will display the website menu. For this we're going to use the unordered list tag, <ul>. We will then add some CSS formatting to menu so it looks like an actual menu, instead of an unordered list!
Just below the opening <body> tag, add the following code:
<!-- *** NAVIGATION SECTION *** -->
  <ul class="nav">
    <li class="nav"><a href="index.html" class="active">Home</a></li>
    <li class="nav"><a href="about.html">About</a></li>
    <li class="nav"><a href="contact.html">Contact</a></li>
  </ul>
<!-- *** END NAVIGATION *** -->
Notice how we have given the unordered list items a class of nav? This is so we can add specific CSS to this particular unordered list, without affecting all other unordered lists across our website. We're going to add 2 additional pages - an About page and a Contact page.
If you refresh the homepage now, it should look something like this:
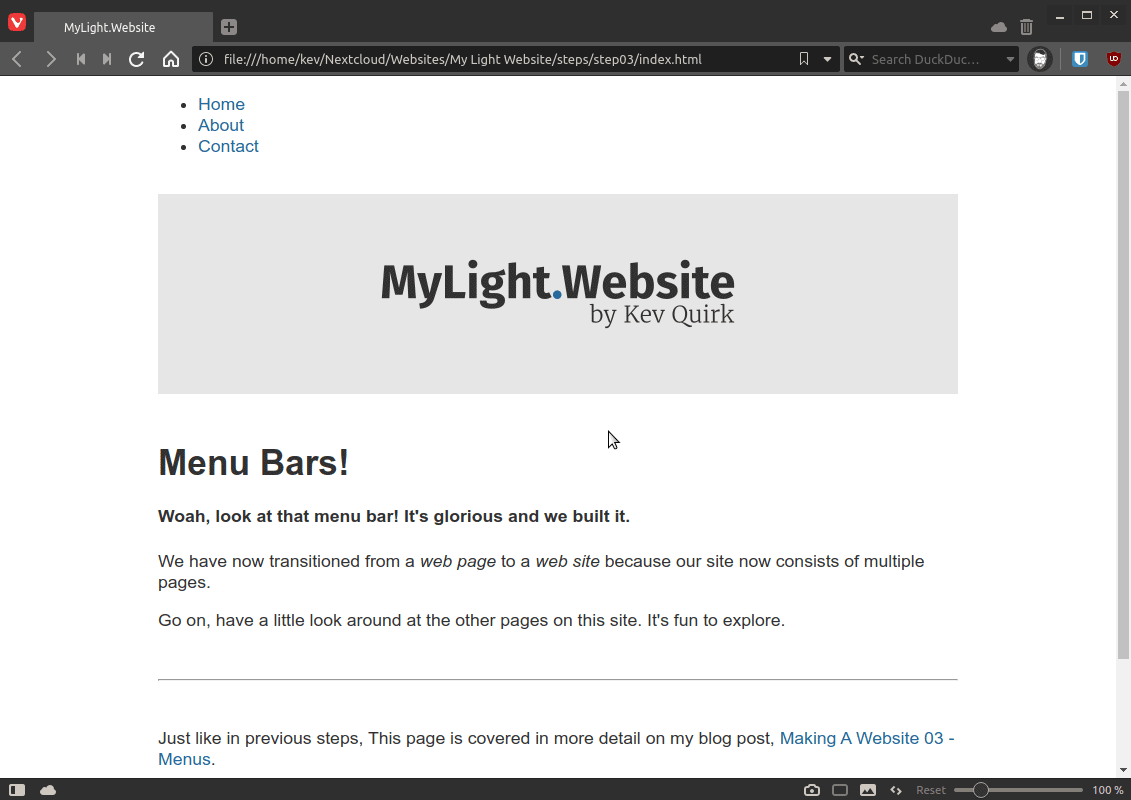
Looks just like a standard unordered list at the top of the page - pretty rubbish menu, right?
Adding CSS
That's it for the HTML for now, we will add some more additions later, but for now let's make this unordered list look like an actual menu.
To format the unordered nav list so it looks like a proper menu, add the following CSS to your style.css file:
/* Format Nav Bar */
ul.nav {
  list-style-type: none;
  margin: 0;
  padding: 0;
  overflow: hidden;
  background-color: var(--main);
}
li.nav {
  float: left;
}
li.nav a {
  display: block;
  color: var(--bg);
  text-align: center;
  padding: 14px 16px;
  text-decoration: none;
}
ul.nav li.nav a:hover:not(.active){
  background-color: var(--accent);
}
.active {
    background-color: var(--accent);
}
That's 28 lines of CSS that we just added; let's take a minute to talk through what all this CSS is actually doing.
ul.navremoves the actual bullet point from the list, ensures the menu is a bar spanning the whole page and is dark grey.li.navaligns the menu items to the left of the page.li.nav adisplays the menu items like buttons and formats their colours.ul.nav li.nav a:hover:not(.active)ensures that menu items turn blue on hover, and that the active menu item (the menu item that corresponds to the page you're on) stays blue, even when hovering over it..activemakes the active menu item blue.
We now have something that actually looks like a menu:
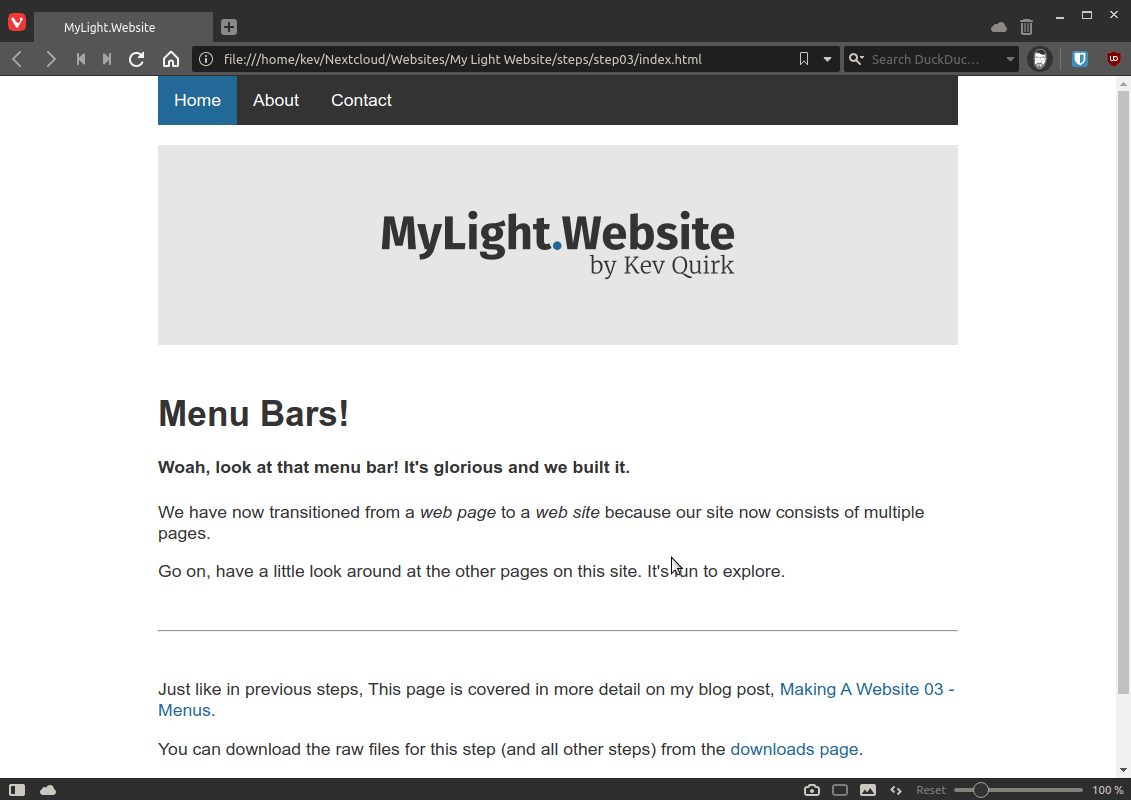
Look at that beautiful menu!
That's it for the CSS changes - we now need to make the additional pages that will be added to our website.
Adding Pages
This part is really simple. All you need to do is copy and paste your index.html page and rename it to template.html. Then, delete the page's contents. Finally, add comments below the banner image and your template should look something like this:
<!DOCTYPE html>
<html>
<head>
<link href="style.css" rel="stylesheet" type="text/css" media="all">
<link rel="shortcut icon" href="images/favicon.png" />
<title>mylightwebsite.kevq.uk</title>
</head>
<body>
<!-- *** NAVIGATION SECTION *** -->
<ul class="nav">
  <li class="nav"><a href="index.html" class="active">Home</a></li>
  <li class="nav"><a href="about.html">About</a></li>
  <li class="nav"><a href="contact.html">Contact</a></li>
</ul>
<!-- *** END NAVIGATION *** -->
<img class="home-banner" src="images/home-banner.png"></img>
<!-- *** START PAGE CONTENT *** -->
<p>Start adding your content here!</p>
<!-- *** END PAGE CONTENT *** -->
</body>
</html>
Now you have your basic template file, save it then make 2 more copies of it. Rename those files to about.html and contact.html. You then need to edit the highlighted lines below within each file:
<!DOCTYPE html>
<html>
<head>
<link href="style.css" rel="stylesheet" type="text/css" media="all">
<link rel="shortcut icon" href="images/favicon.png" />
<title>mylightwebsite.kevq.uk</title>
</head>
<body>
<!-- *** NAVIGATION SECTION *** -->
<ul class="nav">
  <li class="nav"><a href="index.html" class="active">Home</a></li>
  <li class="nav"><a href="about.html">About</a></li>
  <li class="nav"><a href="contact.html">Contact</a></li>
</ul>
<!-- *** END NAVIGATION *** -->
<img class="home-banner" src="images/home-banner.png"></img>
<!-- *** START PAGE CONTENT *** -->
<p>Start adding your content here!</p>
<!-- *** END PAGE CONTENT *** -->
</body>
</html>
Here's an explanation of why you're editing these particular lines for each of your new pages:
- Line 6 - Change
mylightwebsite.kevq.ukto the name of the page you're creating. For example,About Meon the about page andContact Meon the contact page. That title will then be displayed in the browser window title bar. - Lines 12-14 - You need to move the
class="active"section to the corresponding page you're creating. This is so the menu items correctly show as active in the menu bar when you change pages. - Line 22 - This one is easy, start adding your content for that page.
Once you're done adding the additional pages, save them to the same location as your index.html in NeoCities, or whatever your hosting provider is.
You should now be able to navigate around your site and when you do, the correct menu items will be highlighted in blue for whatever page you're visiting.
If in the future you want want to add even more pages, just re-use your template file. You will also need to add an additional line to the nav list for any new pages. The new line will also need to be added to every existing page on your site.
Conclusion
As always, you can see the results in a wizard-like format on mylightwebsite.kevq.uk. Step 3 has been published, so you can see our new menu in action.
There are also links to all of the post in this series, as well as the source code for each step, on the downloads page.
Subscribe for more!
You don't have to keep coming back here to read my latest waffle. There's a couple of way to subscribe to receive updates whenever I publish new content.