Year 2 at the Smallholding
We recently passed 2 years at our 2.5 acre smallholding. It's been another busy year where we got loads done; here's what we've been up to.
I can’t believe we’re 2 years into this amazing adventure already. So far things are going great - we feel like we’re fully embedded in the community now, and we’ve found our mojo with a lot of the things we’ve been learning along the way.
But what have we been up to for this second year at the smallholding? Well, because we ran out of money last year, I’ve been doing a lot more myself in order to save the pennies. Which means things have been busier for me, but it’s been a fun learning experience.
Finishing the garage
I started this last year, but finally got it finished this year. I’ve always wanted my own large workshop for my motorbike shenanigans (among other things) and I finally have one.
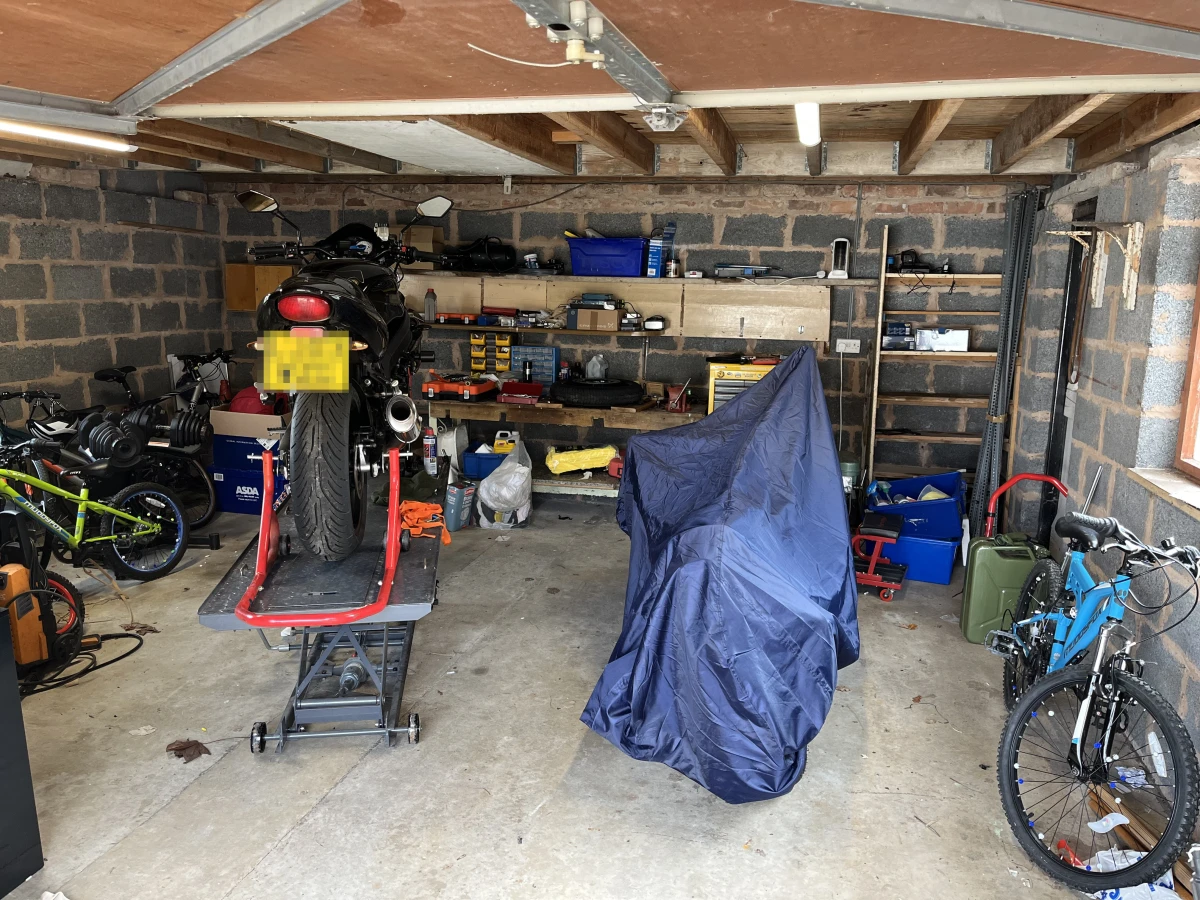
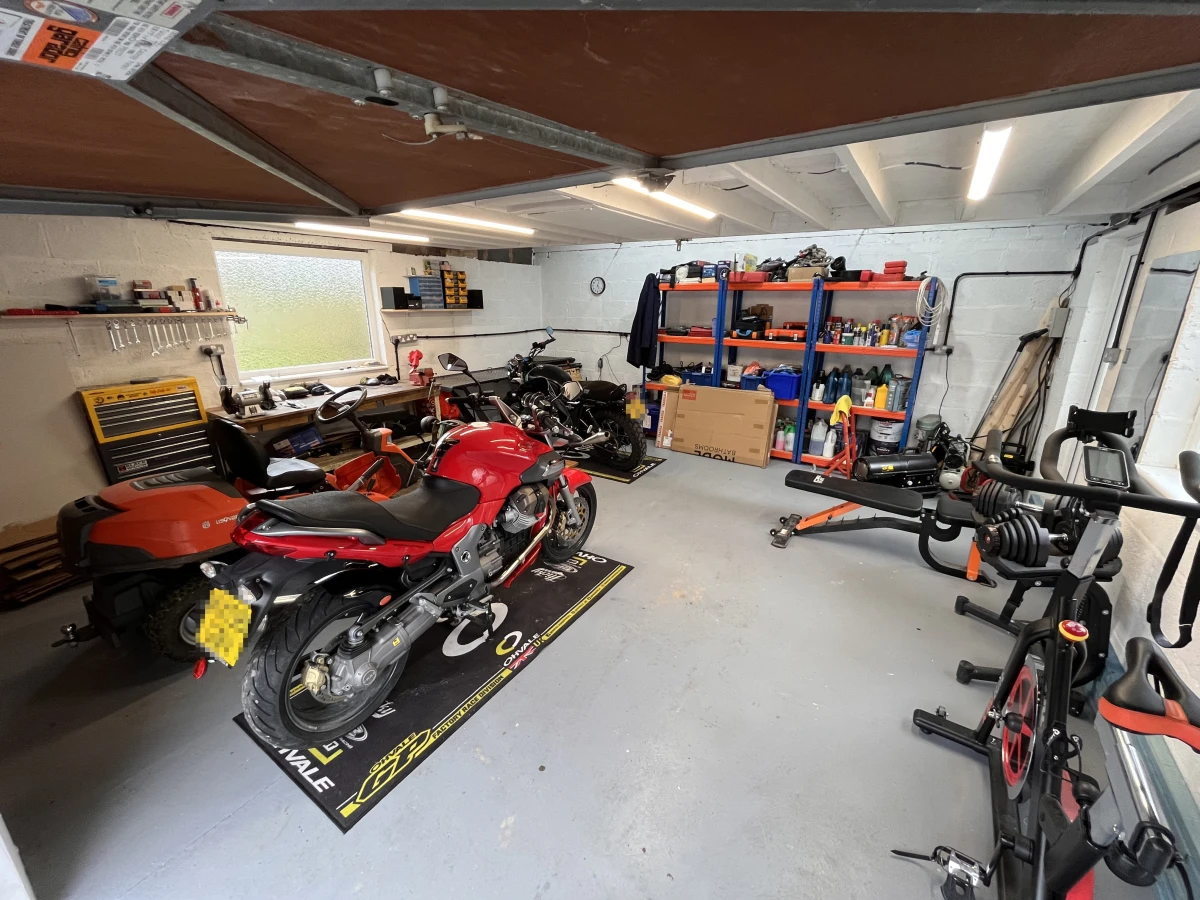
If you want to read more about the garage renovation, take a look at this post.
Land maintenance
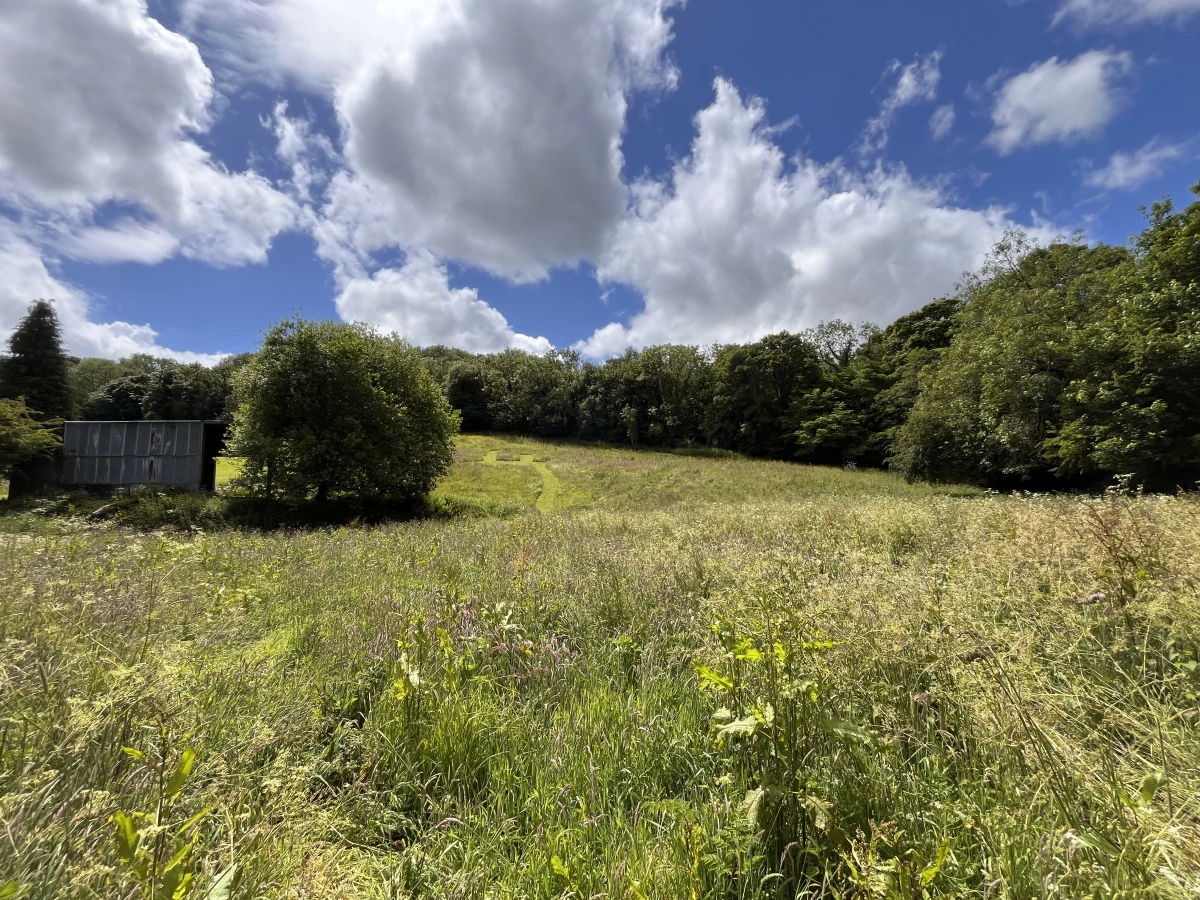
Once the garage was finished I turned my attention to maintaining our little plot of land. We have 2 fields, one of which I’ve never really been able to do anything with as our mower can’t really handle it.
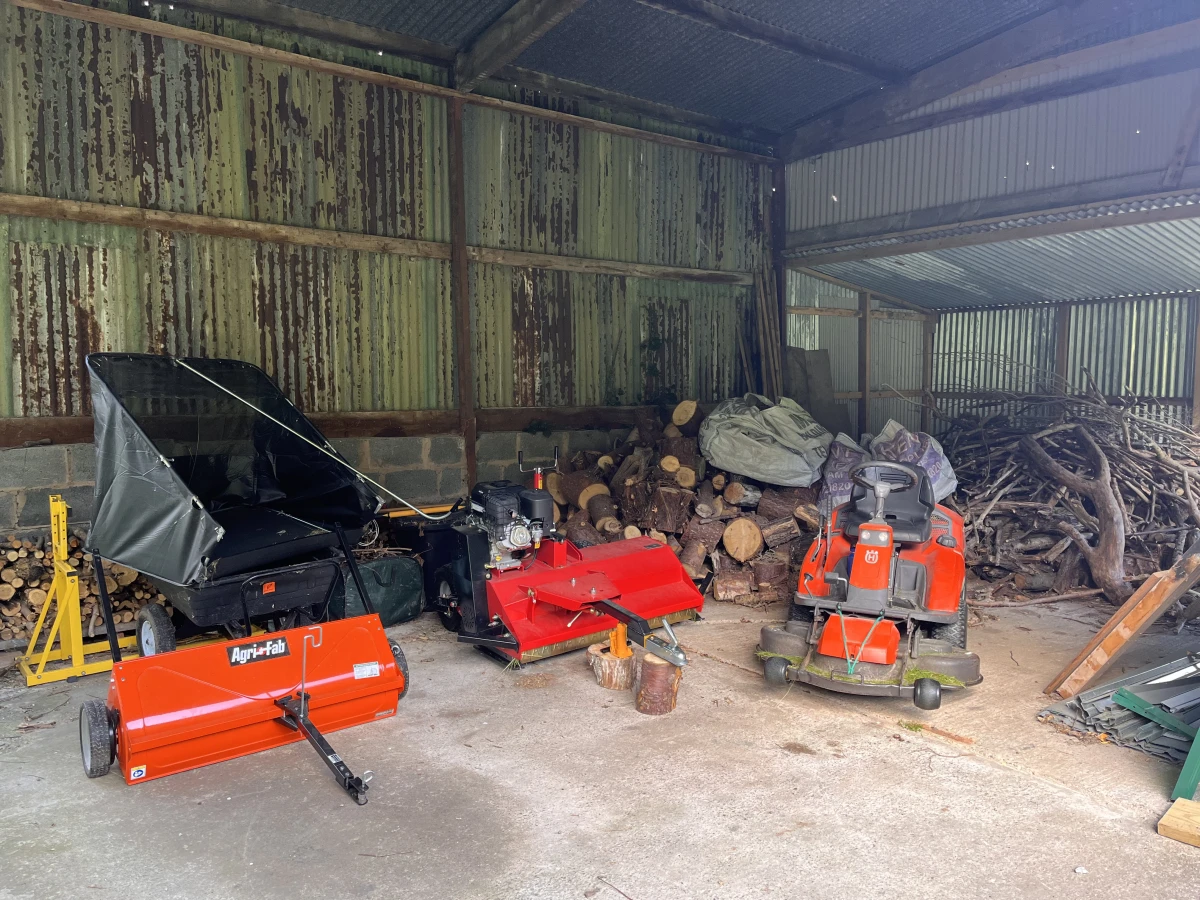
So I ended up buying a couple of pieces of equipment to help me maintain the land. Accompanying our plucky little mower is now a lawn sweeper and a beastly flail mower.
This has allowed me to maintain the land far better, and I was able to mow some paths into the bigger field so that we could enjoy it this summer - the dogs love running in the long grass between the paths.
As we move into spring I’d like to really get on top of that field and make it a nice lawn for the kids to play on. It’s the only flat piece of land we have, so will be nice for them to have somewhere to play football etc.
Renovating the kids rooms
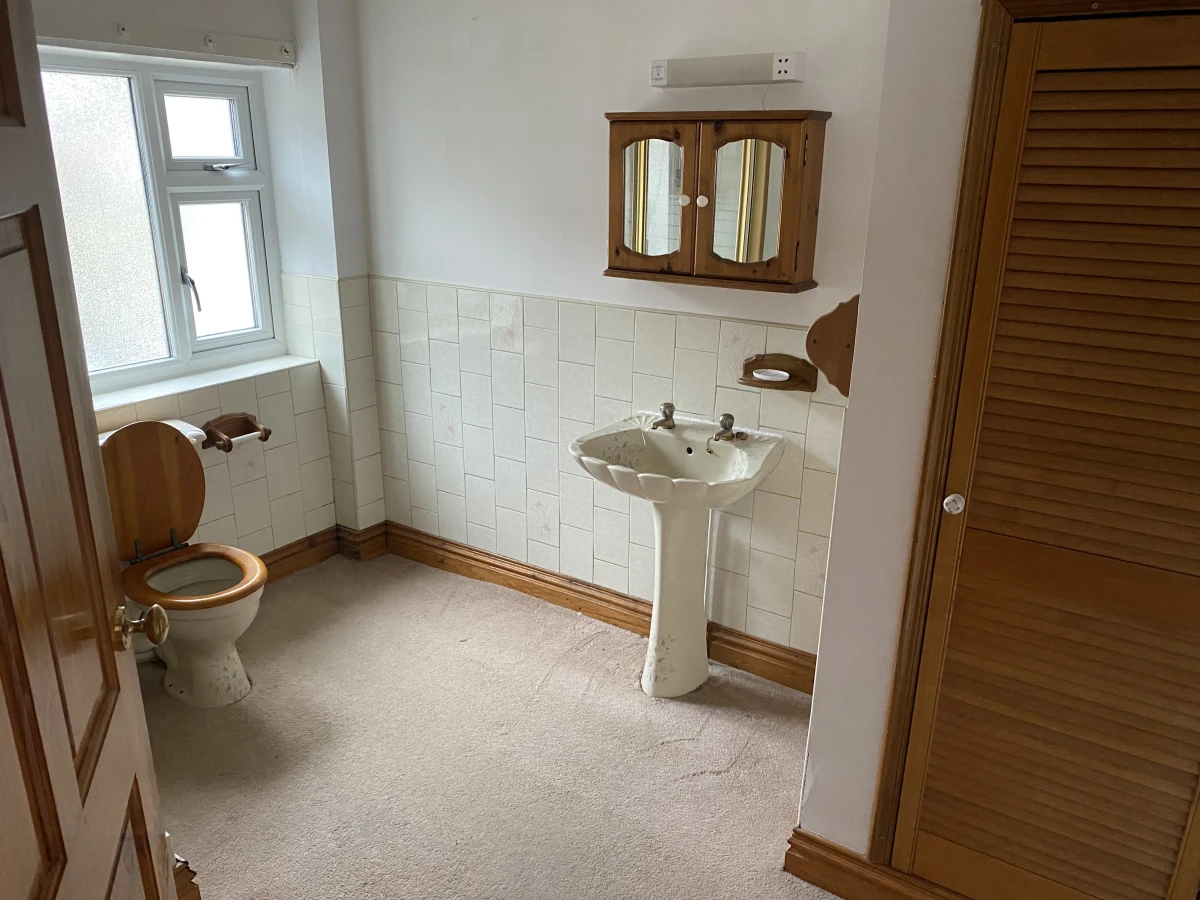
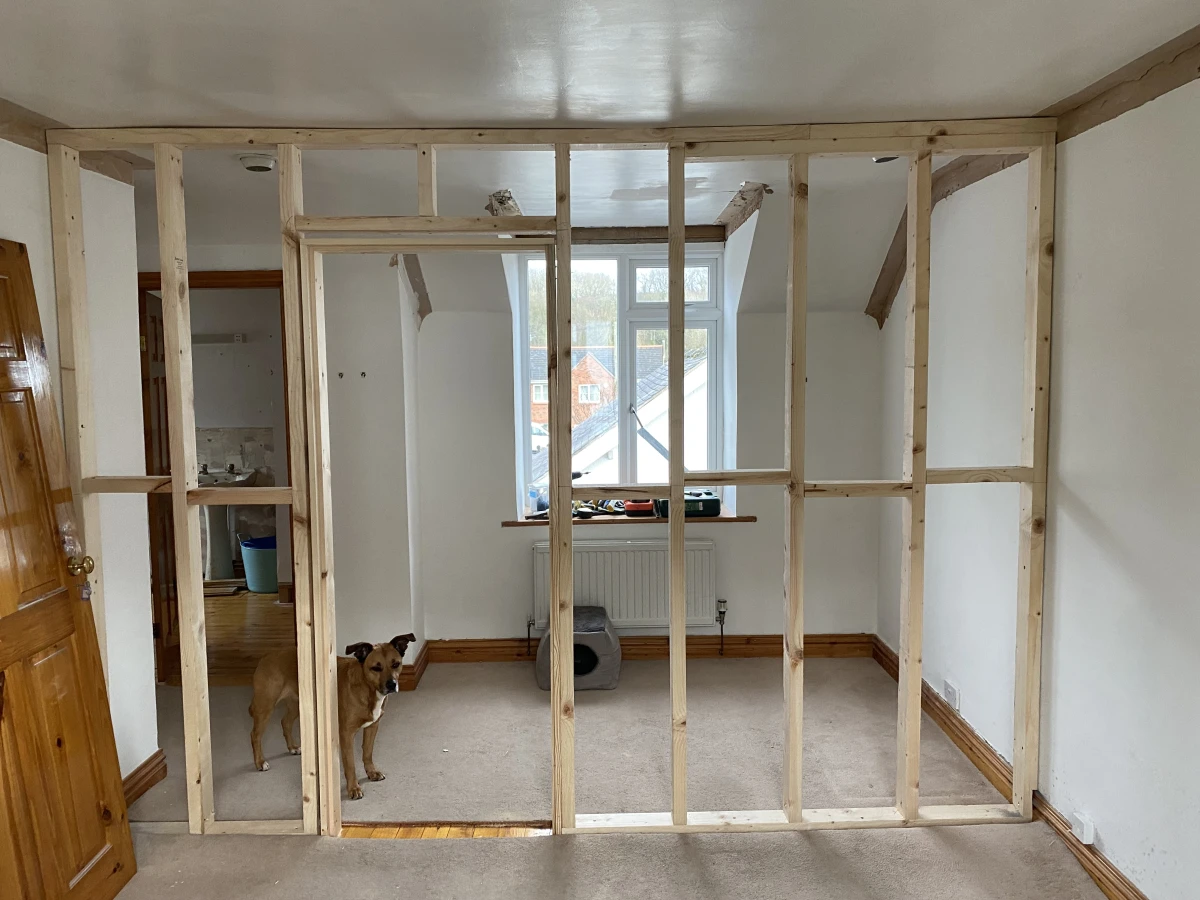
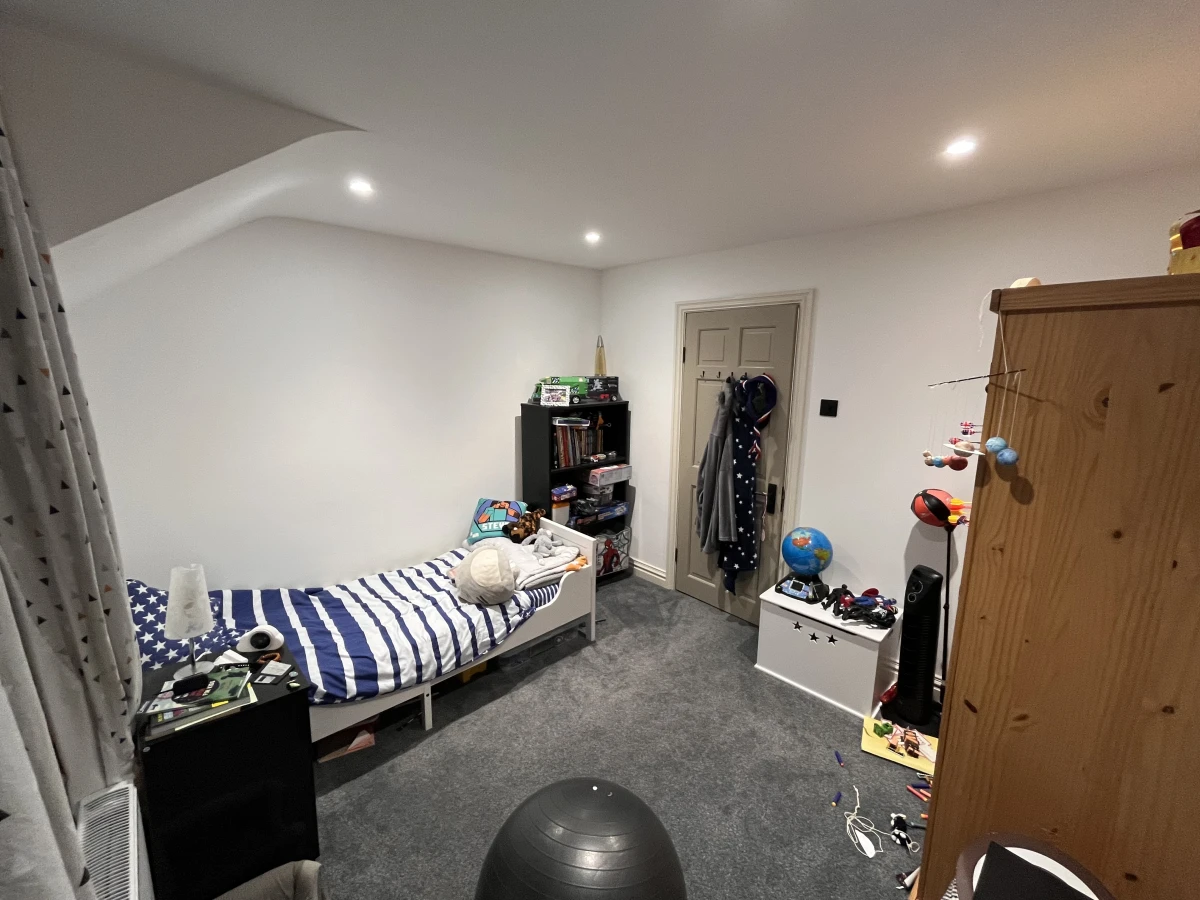
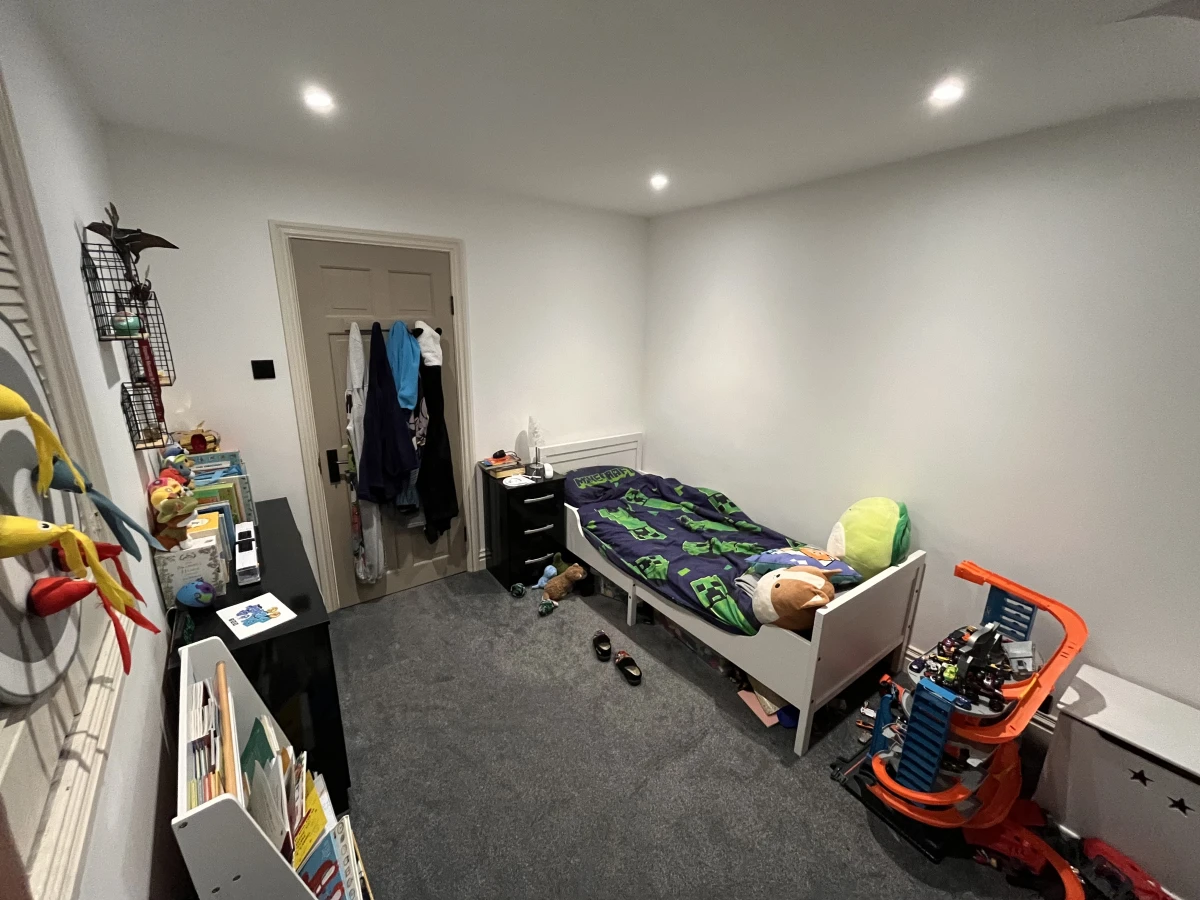
This is the big one for the year. Unfortunately it was the most expensive too. Our boys have shared a room their entire lives, but as they’re getting older, they really need their own space.
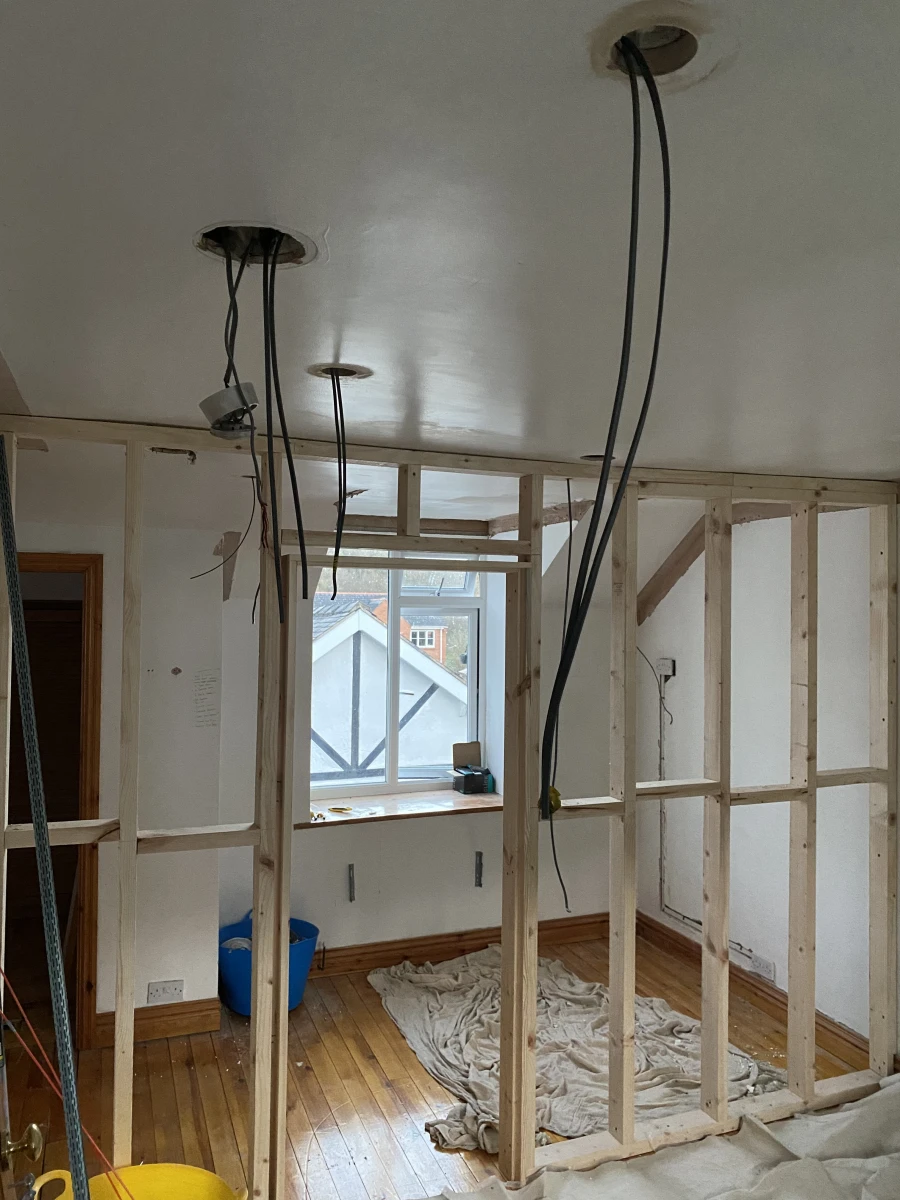
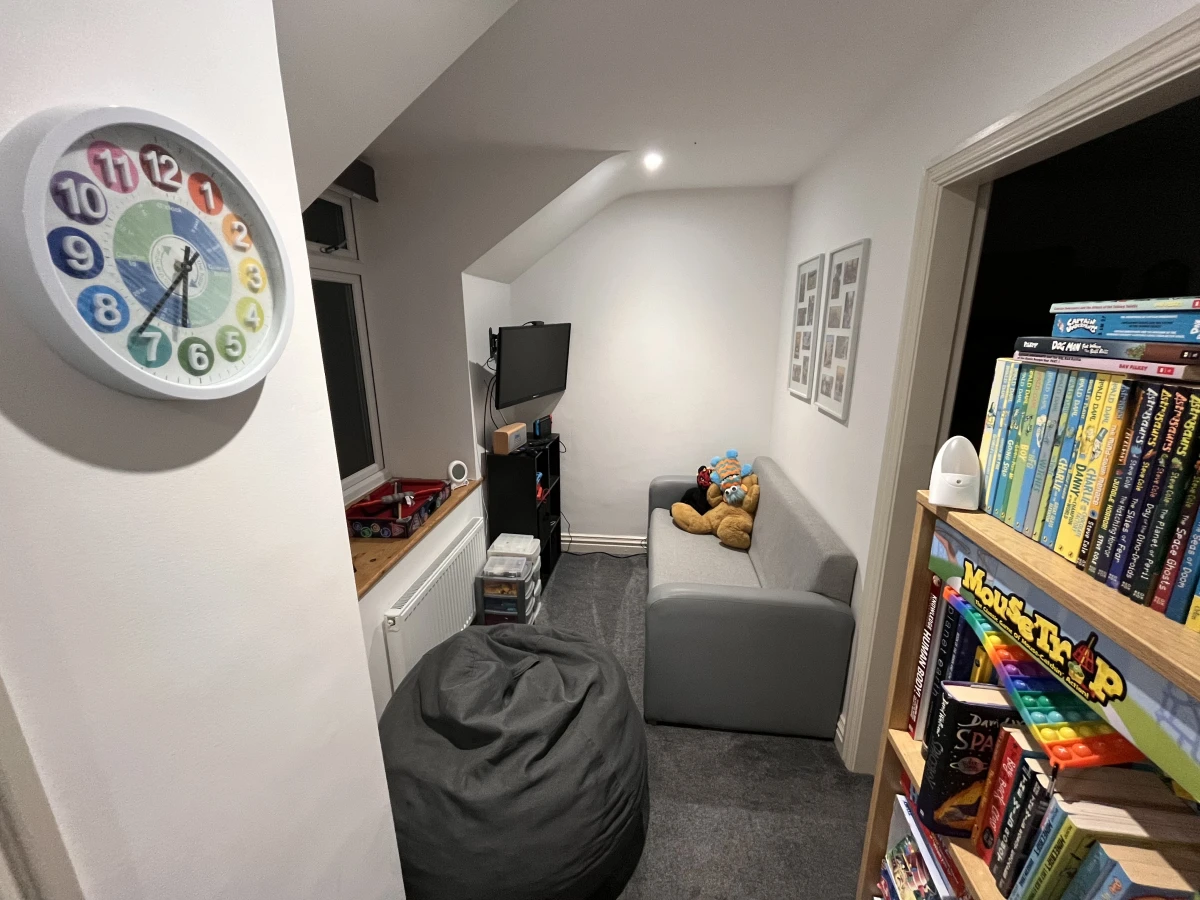
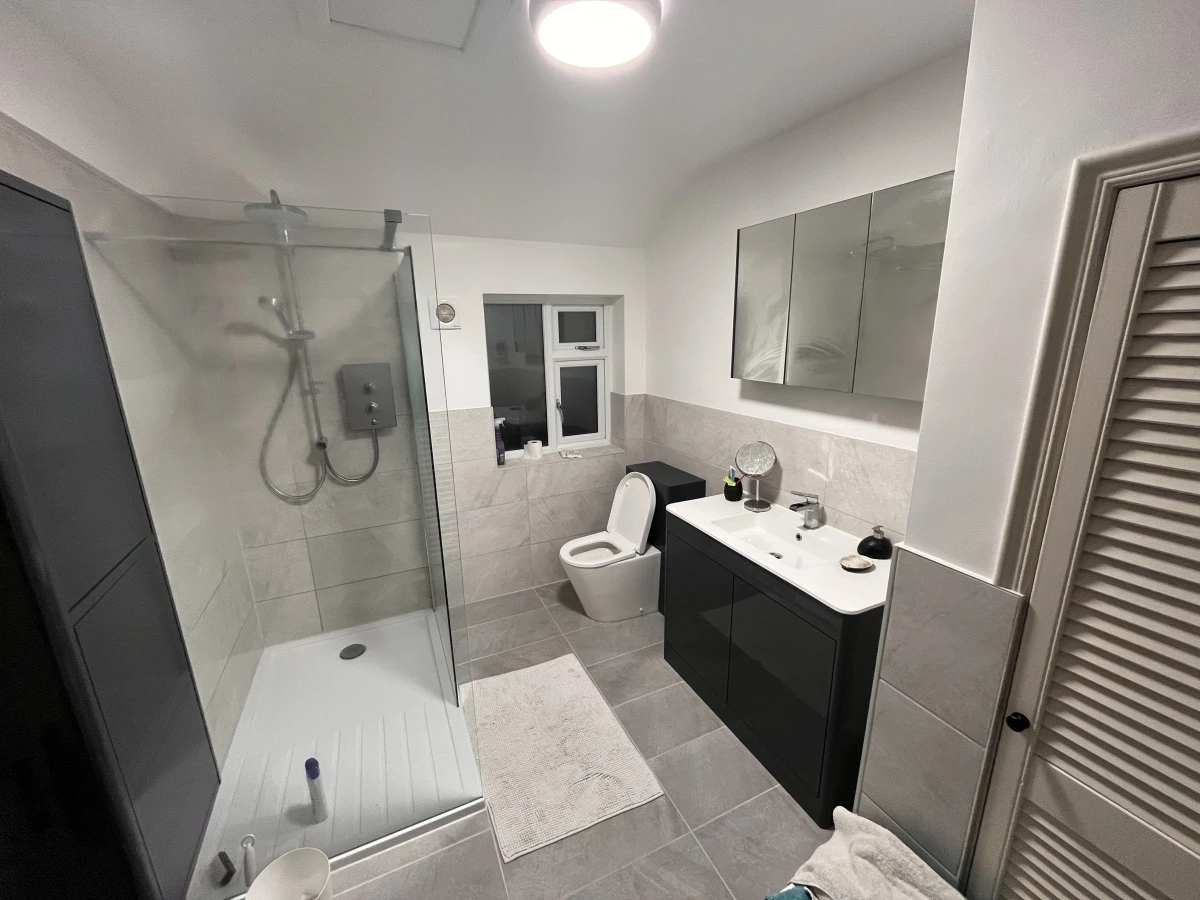
So we decided to move into the spare room and renovate what was our master bedroom, our en-suite and my wife’s “dressing room” into bedrooms for the kids, a bathroom of their own, and a gaming snug.
We ended up having to do a partial re-wire and upgrade the heating system in that end of the house too. The bathroom also cost far more than we wanted it to, but the result is a fantastic space for the kids to enjoy, which also keeps them out of our hair. 🙃
Fixing the driveway
With the inside looking pretty good (albeit still with lots to do), we flipped to the outside of the house and focussed our efforts there.
I switched to an EV back in February and we needed a charger fitted at home, but we didn’t want a modern electrical unit ruining the look of our beautiful 200 year old house, so decided to dig a trench and mount the charger on the garage.
The path from the house to the garage went across a poorly laid patio, so I decided to rip that up while I was there, and lay some gravel.
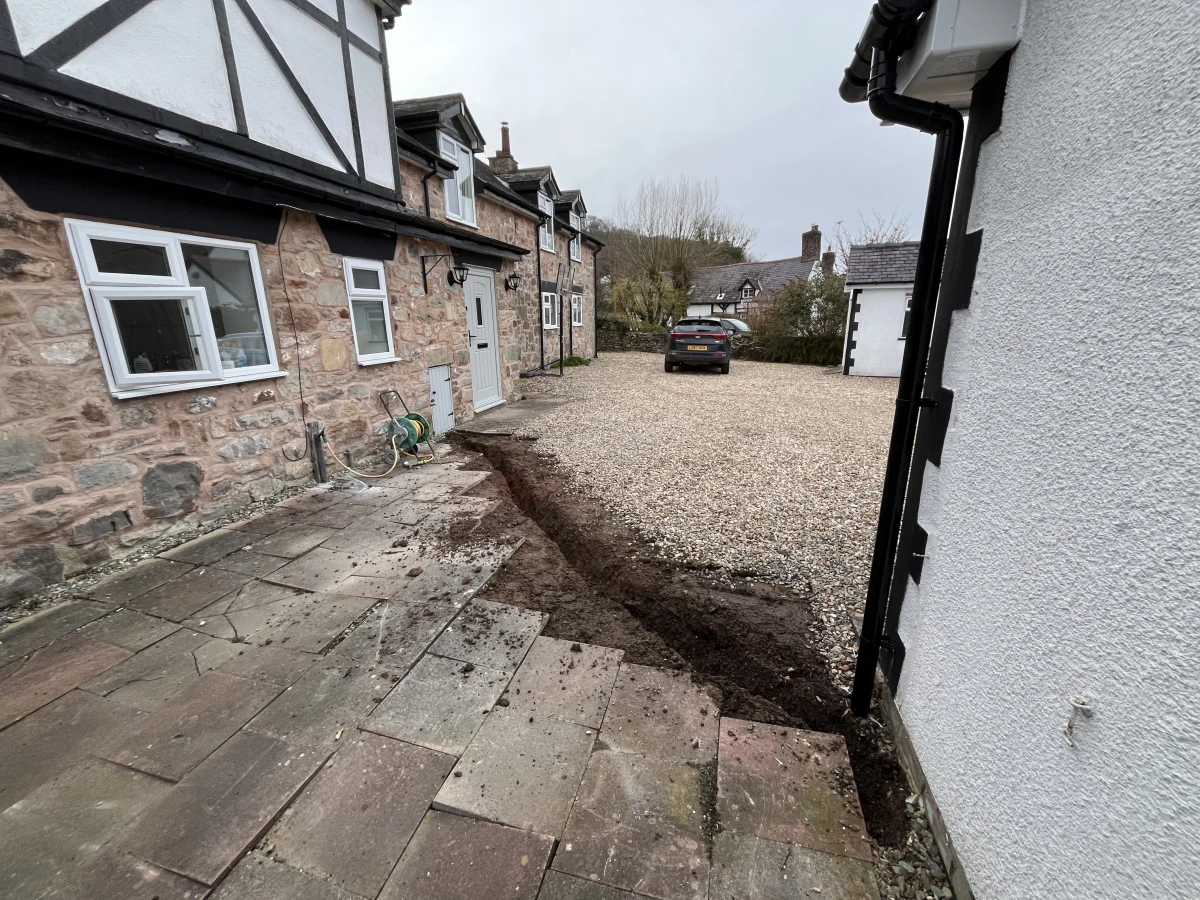
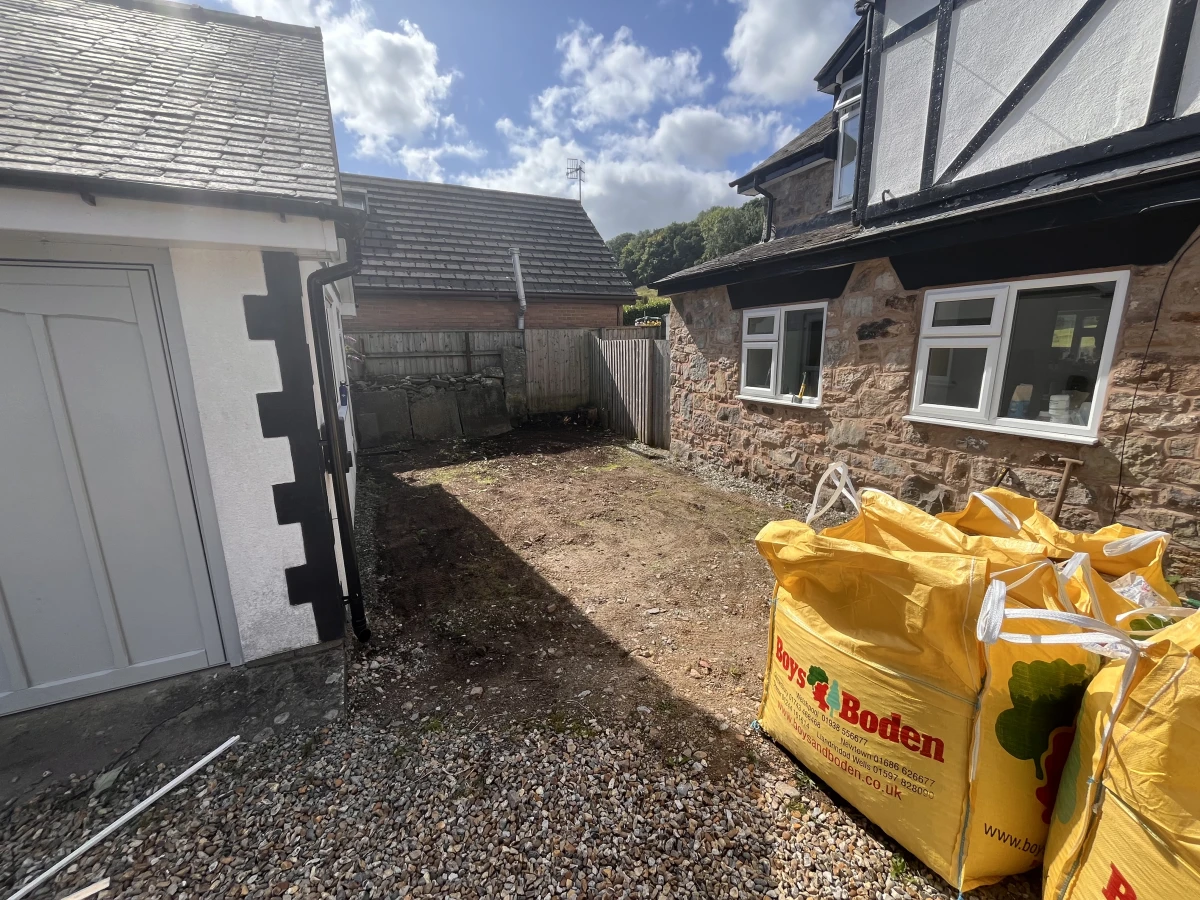
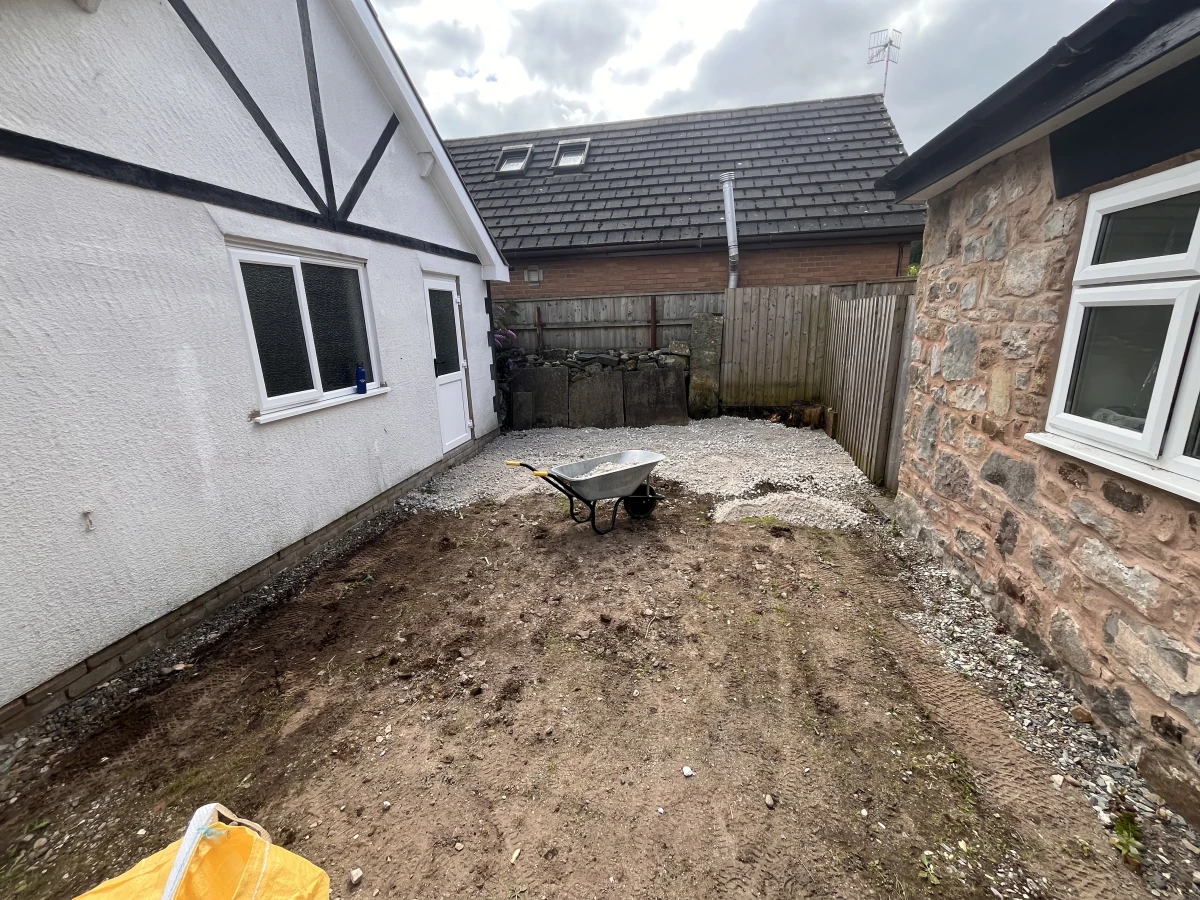
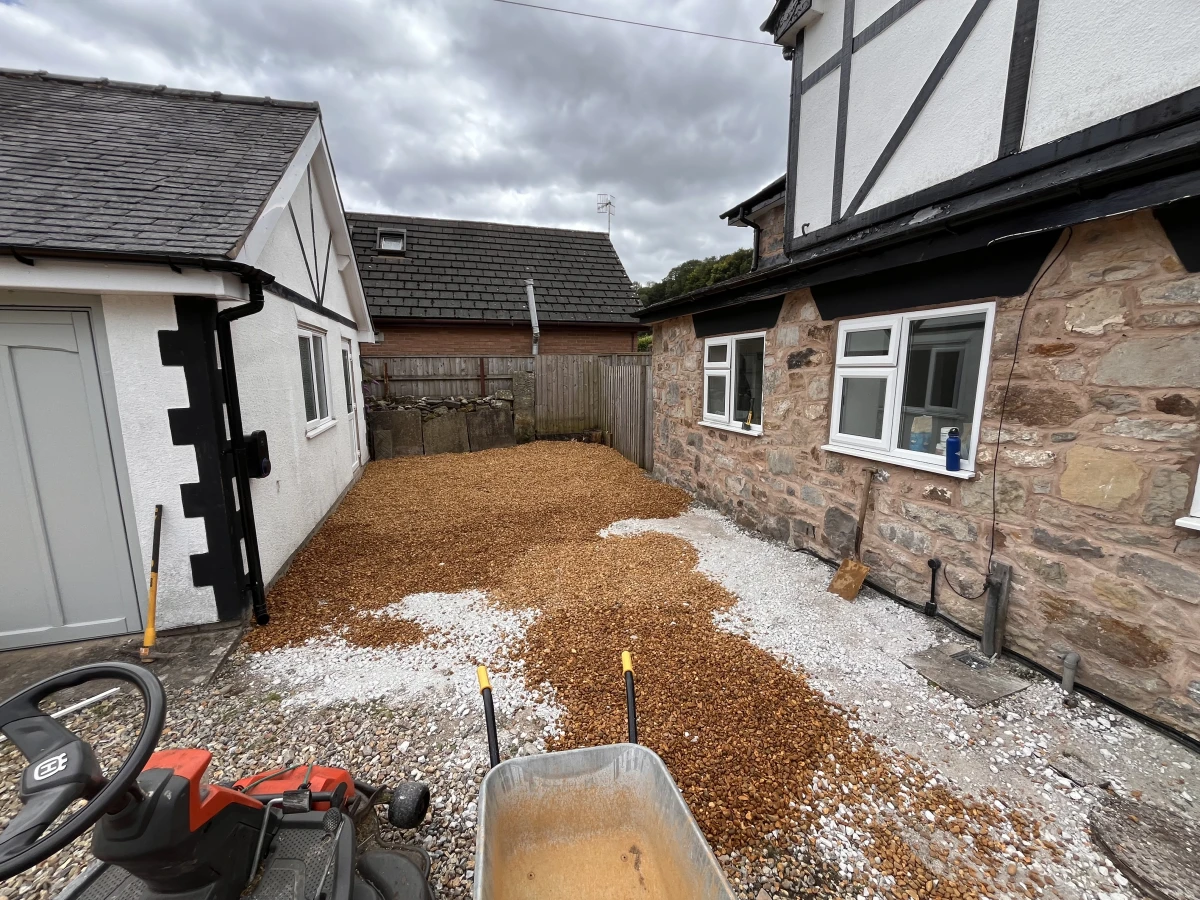
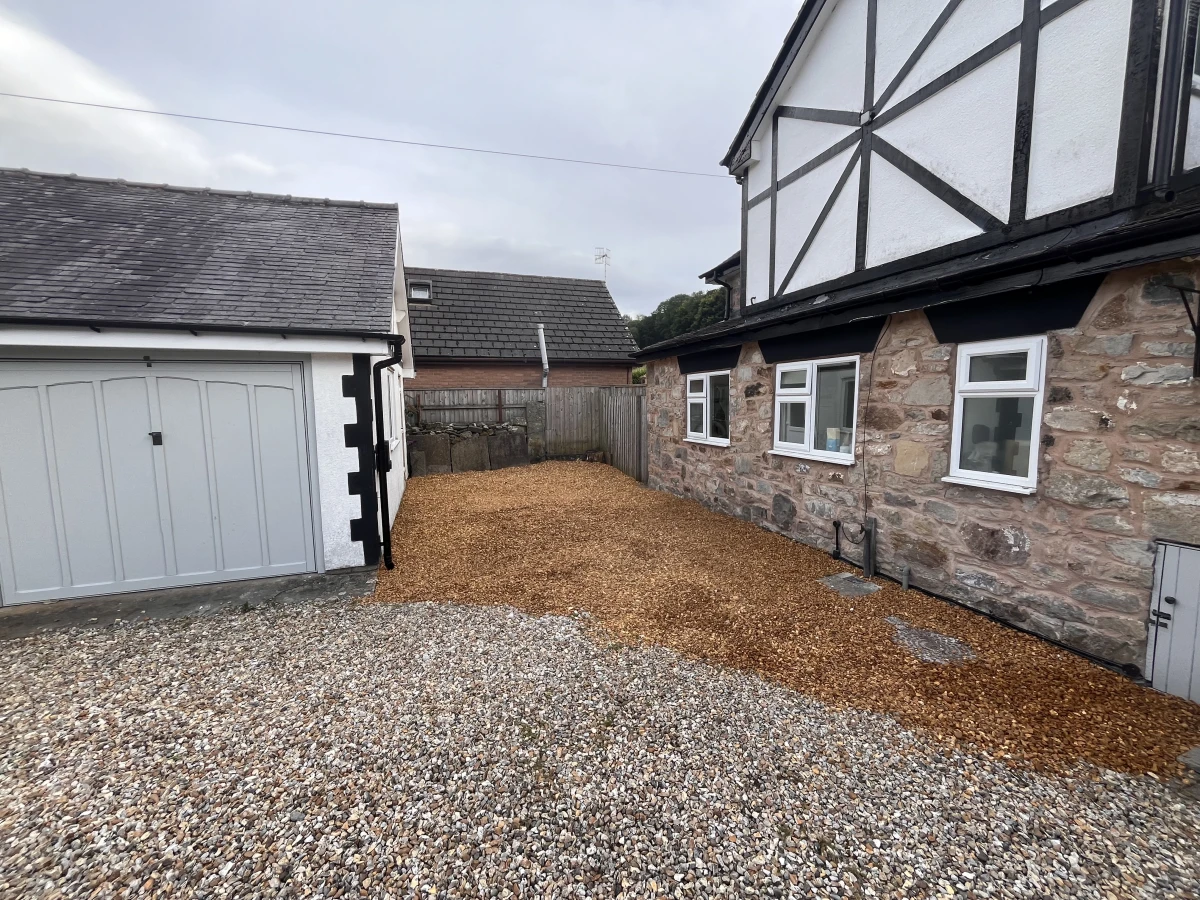
Let me tell you, folks, shovelling 10 tonnes of stone by hand is no fun. Good cardio though!
I know the gravel looks a completely different colour, but the old gravel is around 20 years old, so well weathered. The colour on the new gravel is starting to fade now, and it does look better. I’ll probably mix it with some of the old stuff next year so that it blends in though.
Improving the chicken hotel
Last winter we moved the chickens from their original coop into one of our 2 stables. They were far more comfortable in there, as I’d already insulated the roof, but it felt like a waste of space to have 12 chickens in a large stable.
It was also a pain during the summer having to get up super early (like 4am) to let them out of the stable to they can forage around.
We had a rotten old window on one side of the stable, so I pulled that out, strengthened the frame, and installed a light activated door for them that closes at night and opens when it gets light. Then I installed a stud wall half way down the stable so that the chickens have plenty of space, but we get some of the storage back in the stable.
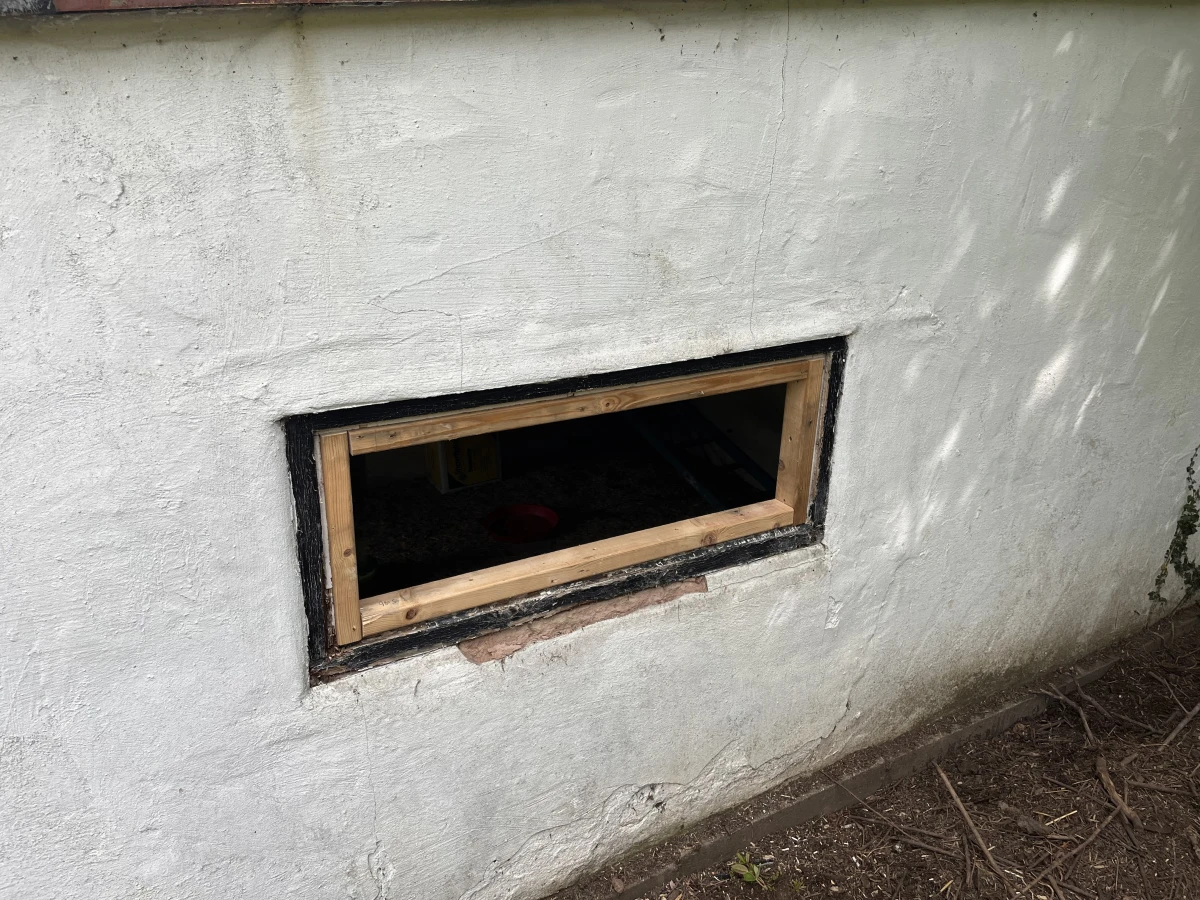
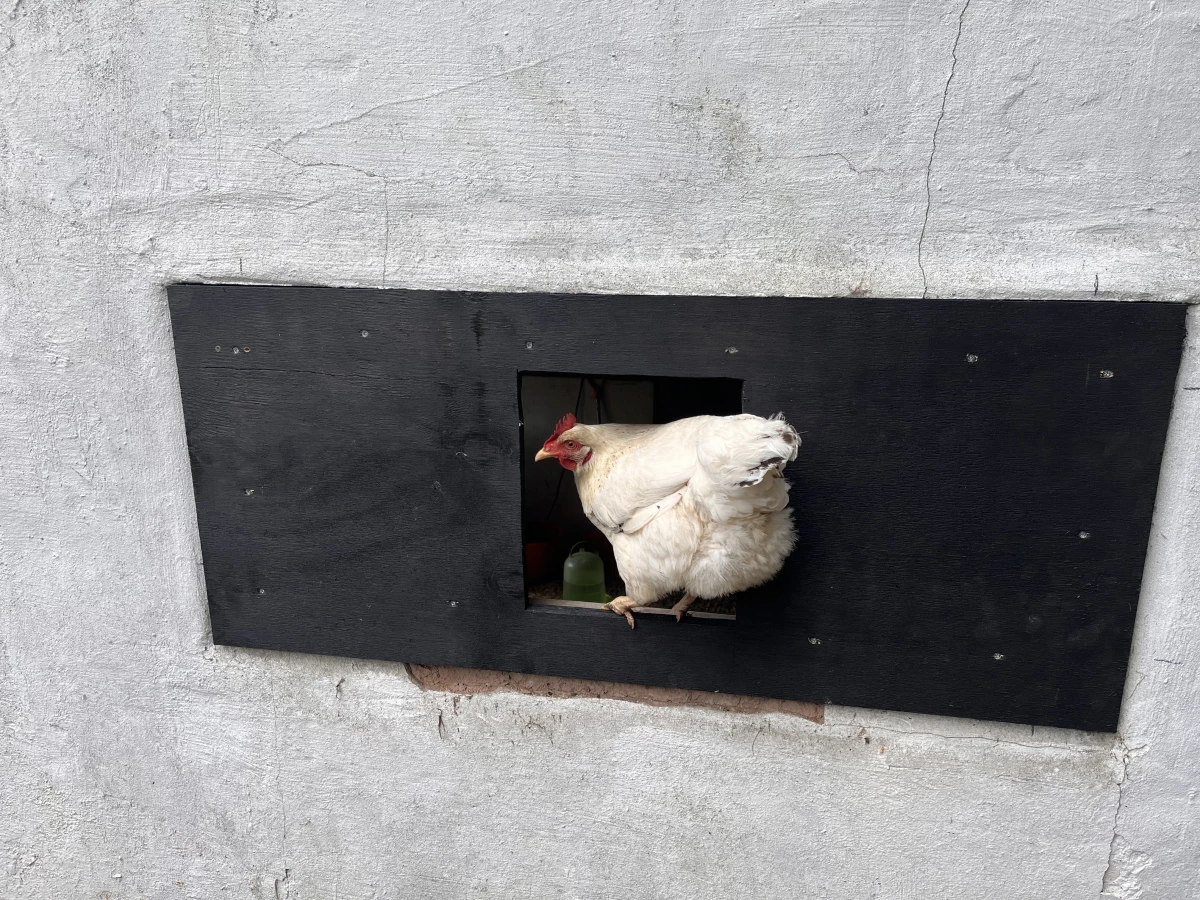
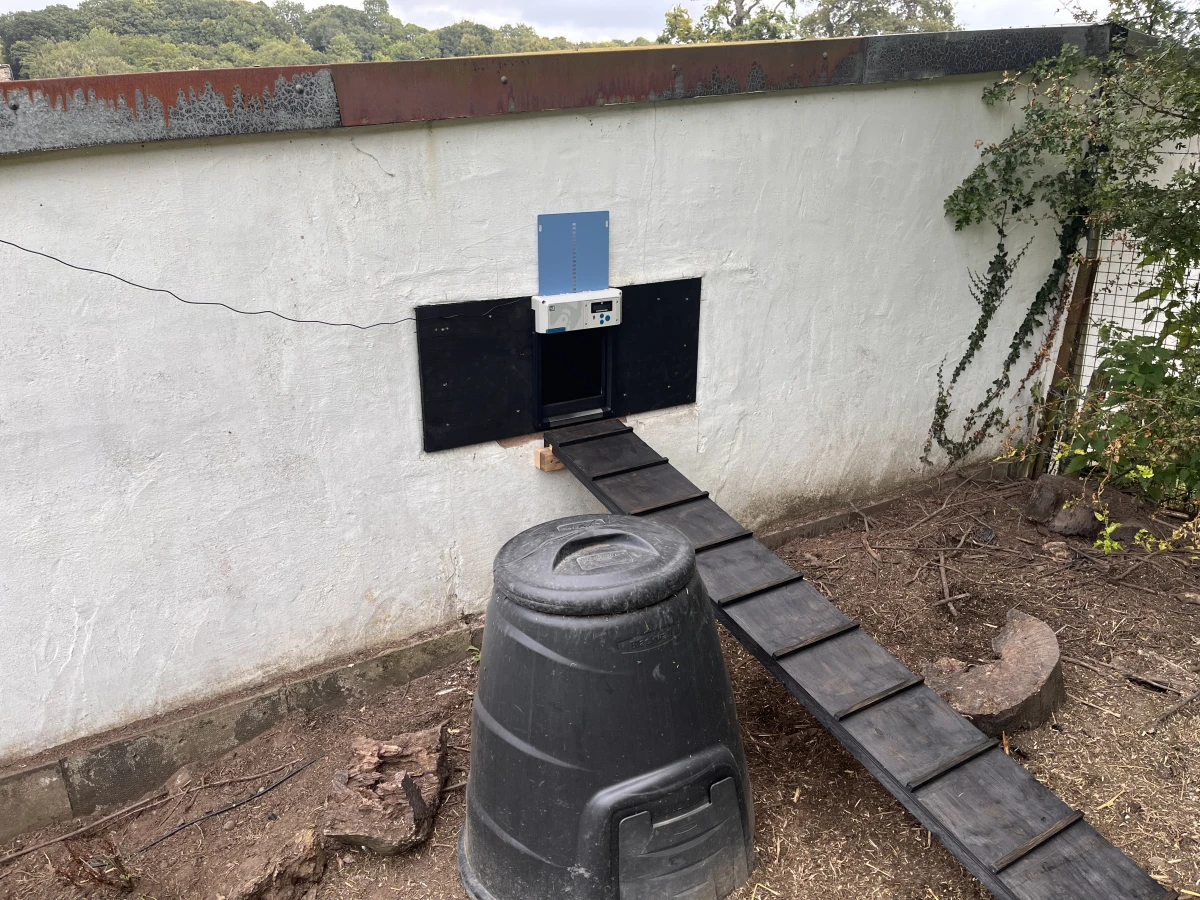
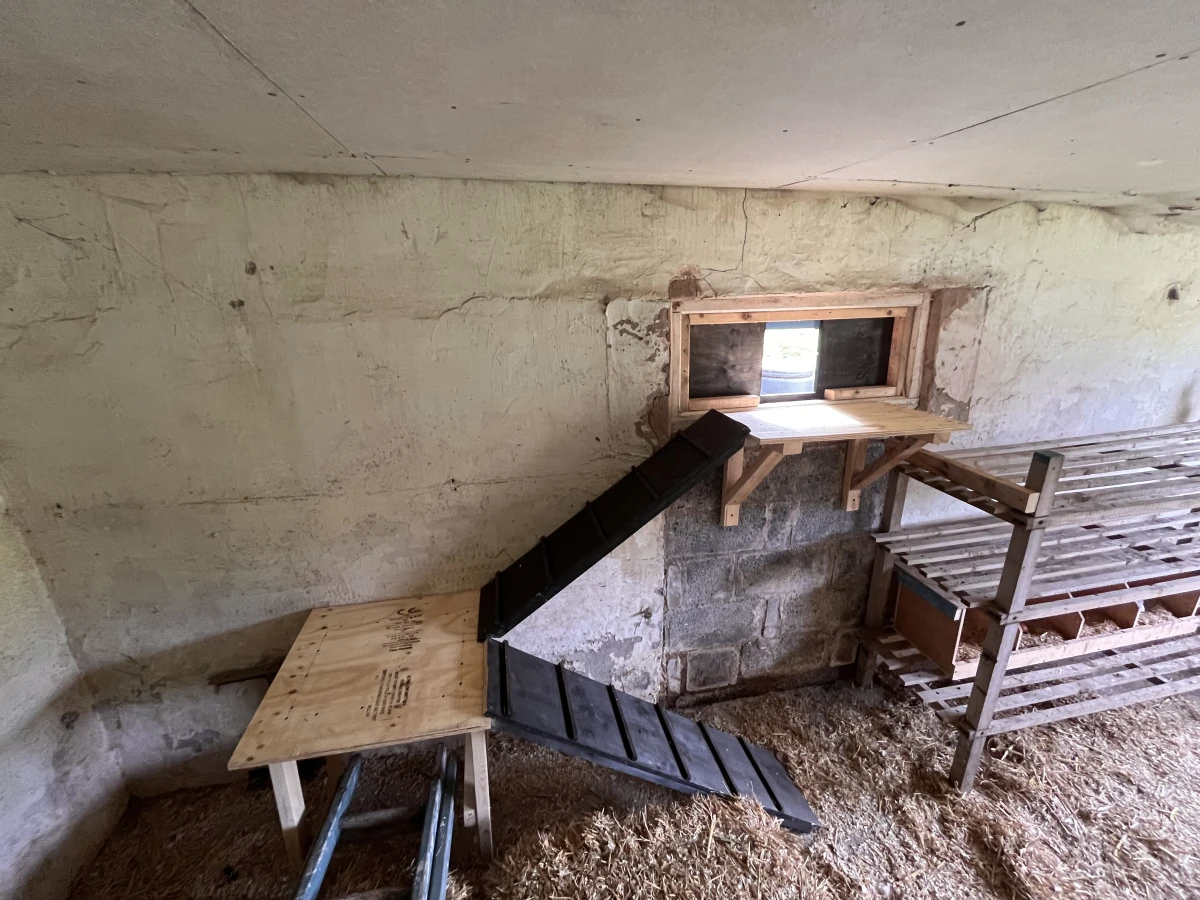
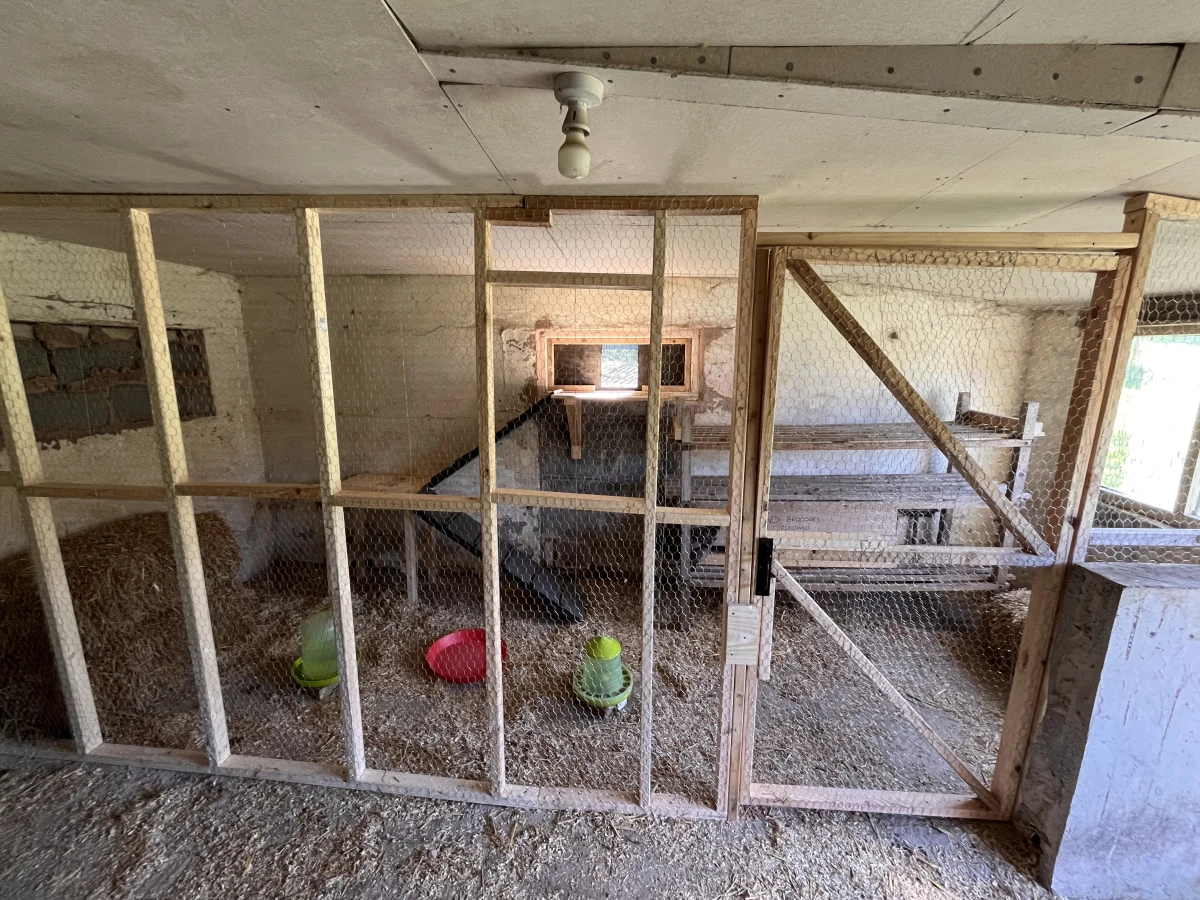
We’re really happy with the results, and I learned a lot in the process too. We now have half of one of our stables back for storage, and we don’t have to get up at the crack of dawn to let them out.
That isn’t a crack in the wall on the 3rd picture, it’s the wire for the solar panel that powers the door. It’s since been tidied up.
More storage!
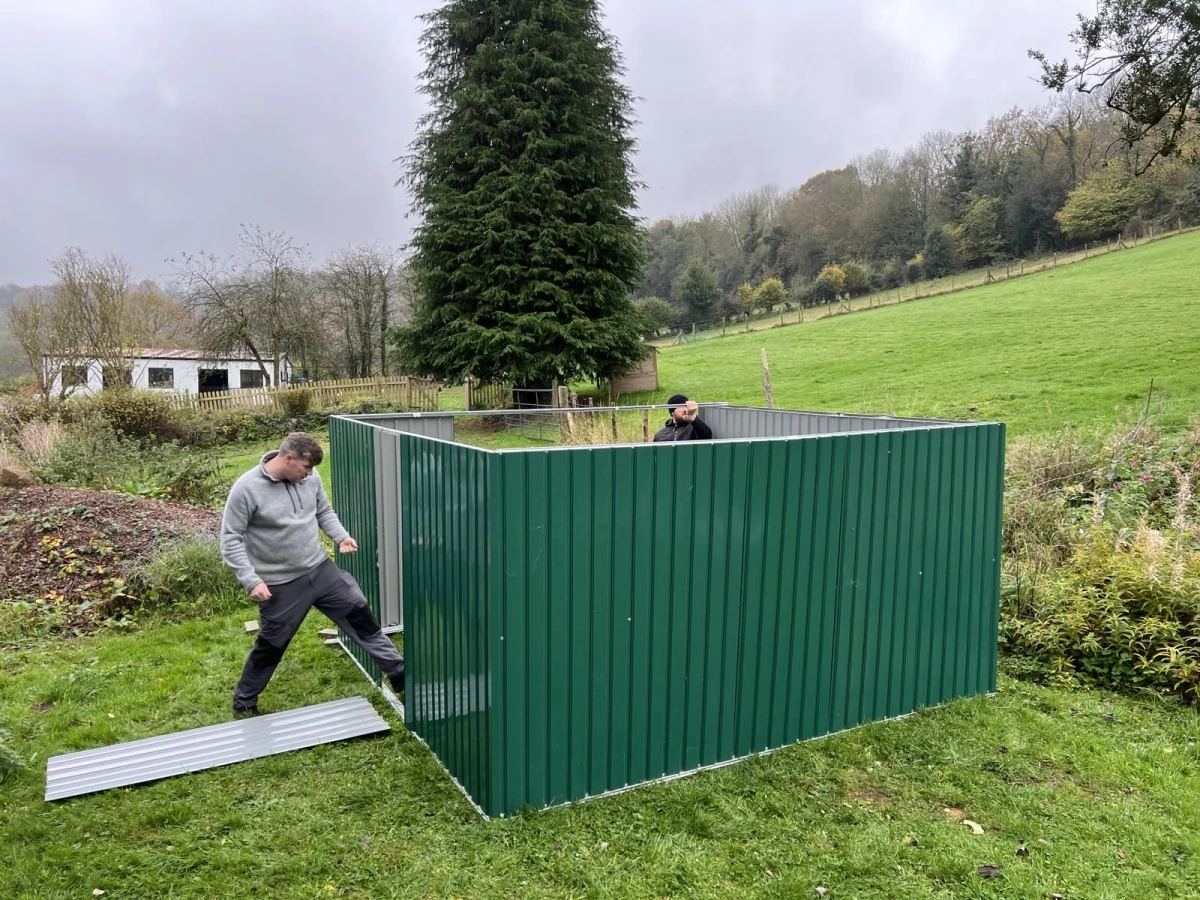
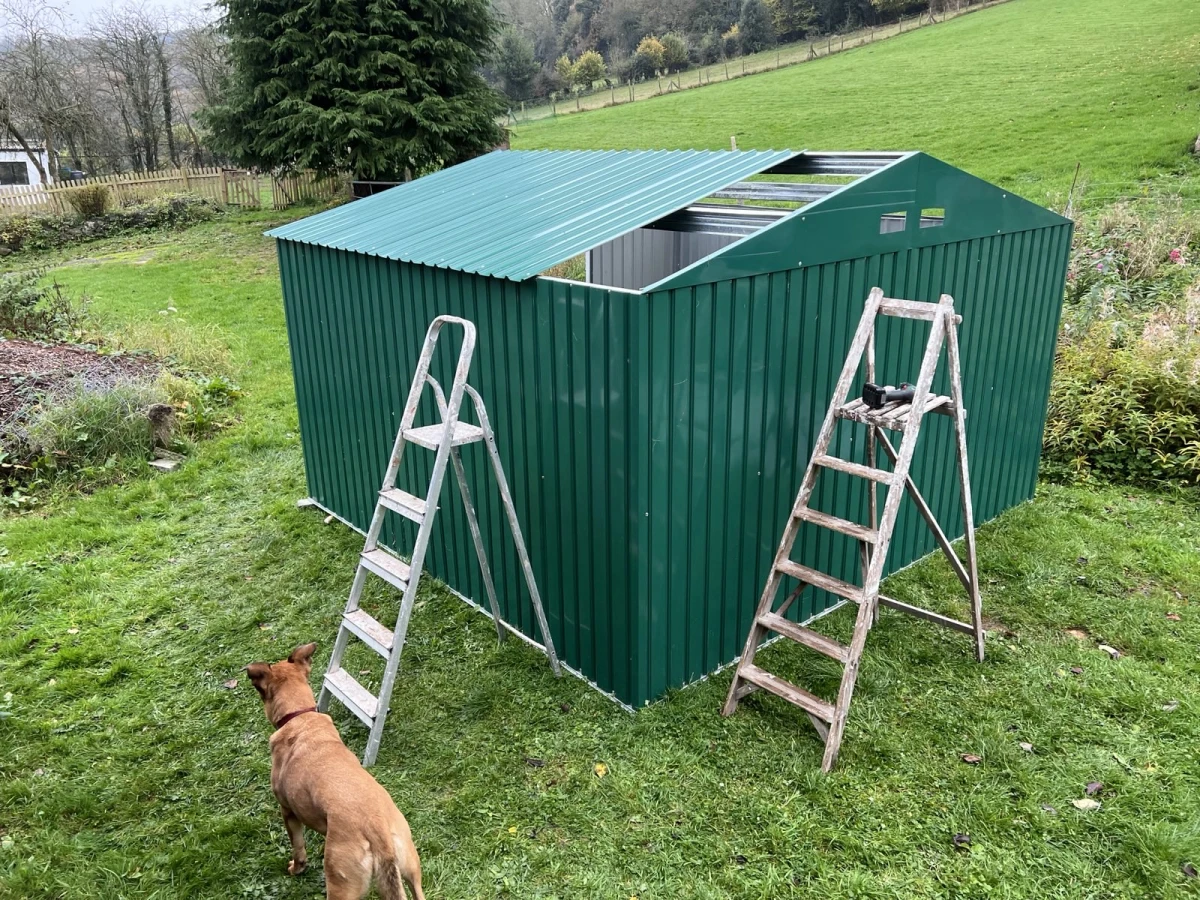
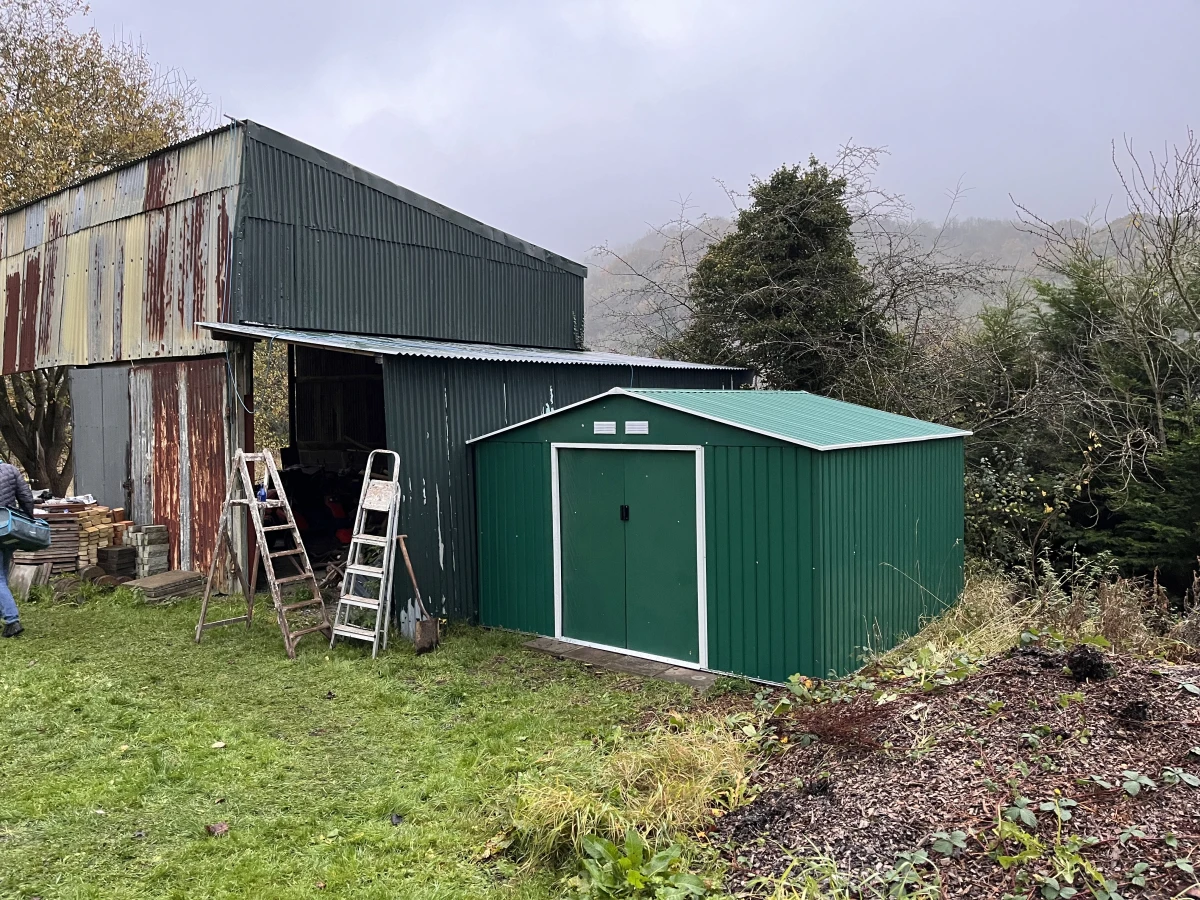
My wife decided that a double garage, 1.5 stables, a brick shed and a barn wasn’t enough storage for us. Mainly because we’re thinking about renovating the brick shed into a small annex for guests this year.
Anyway, we decided to buy a 3m x 3m (10’ x 10’) tin shed. This thing was a nightmare to build! The instruction said 2 people, 3 hours. Bollocks! It took 3 of us all day to do. But we got it done and it looks great next to the old tin barn.
What’s next?
Wooo! That was a lot, right? It’s been another really busy year, but we’ve managed to get so much done, and I haven’t even covered things like our vegetable patch, cutting down (and planting) trees, building and moving fences etc.
As I said earlier, we want to renovate the brick shed this year. There’s significant work to do in the garden, but we’re not sure we will be able to get that done this year; we will have to see how our bank balance looks.
We also have a large conservatory that’s either freezing in winter, or roasting in summer. So I think I’m going to insulate the roof to make it more usable year round. I don’t think that will be that expensive, and should be another fun little project for me to take on.
After that it’s all the big stuff in the house. There’s 2 more bathrooms to replace, a small toilet, and an entire kitchen. These all require a huge amount of money, so will likely have to wait a couple years. That’s fine though - we’re very happy with what he have so far.
I don’t know if these kind of posts are interesting to people. Personally, I really enjoy them as it’s something I find interesting. But if you don’t like them, please use the reply button below to let me know. Conversely, if you’ve been doing a renovation that you’re documenting, I’d love to read about it!