How To Install Nextcloud On Shared Hosting
After writing my Nextcloud setup guide, people have asked me whether they can install Nextcloud on shared hosting, like cPanel.
After writing my Nextcloud setup guide, people have asked me whether they can install Nextcloud on shared hosting, like cPanel.
Some people don’t want to pay for an additional server to host Nextcloud. That doesn’t mean they should be left out in the cold and having to forego their privacy by relying on 3rd party tools, like Dropbox, Google Drive and Microsoft’s OneDrive.
In this post I will show you how you can install Nextcloud on shared hosting platforms, like cPanel and Plesk.
Why Install Nextcloud On Shared Hosting?
There are many of reasons why someone would want to install Nextcloud on shared hosting, some of these may be:
- Shared hosting is cheap
- Shared hosting comes with lots of storage
- You don’t have to administer the server
- Backups are very simple
The best part of all this is that the process is actually really simple! If you don’t already have a shared hosting package, I can personally recommend both Unlimited Web Hosting and NameCheap.
Installation
The first thing you need to do is log in to your shared hosting account (in this example I will be using cPanel) and create a database. Nextcloud requires a database to store all the administrative data.
Database
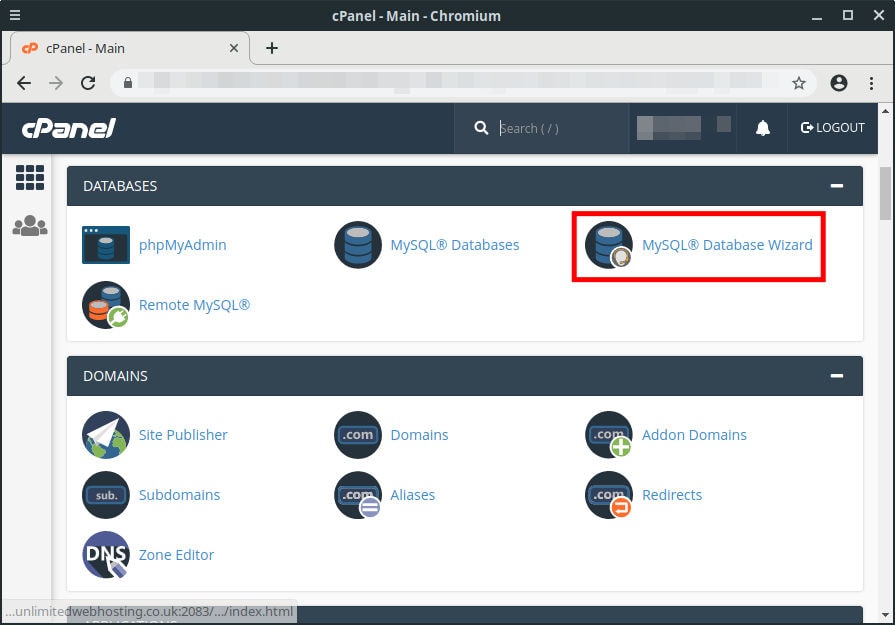
Find the MySQL Database Wizard within your cPanel account, click it and follow the on-screen instructions to setup the database. Make sure you note down the database name, user and password as you will need those later.
Domain
Now we have create the database, we need to setup a domain, or sub-domain, for the Nextcloud instance to use.
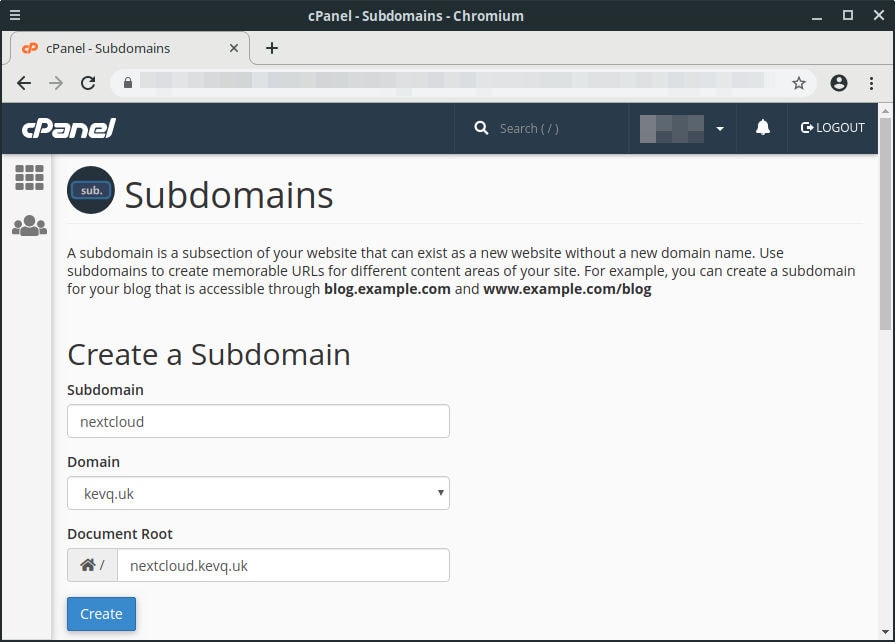
Again in cPanel, go to the Subdomains section and add the subdomain you wish to use. In this example, my subdomain is nextcloud.kevq.uk.
Both cPanel and Plesk support free TLS certificates; make sure you configure this so your Nextcloud domain is using HTTPS before you run the web installer.
Install Wizard
Now we have the domain, database and TLS certificate configured, it’s time to run the Nextcloud web installer.
- Right-click here and save the file to your computer
- Upload setup-nextcloud.php to the directory you specified for the Nextcloud domain
- Point your web browser to
your-nextcloud.domain.com/setup-nextcloud.php
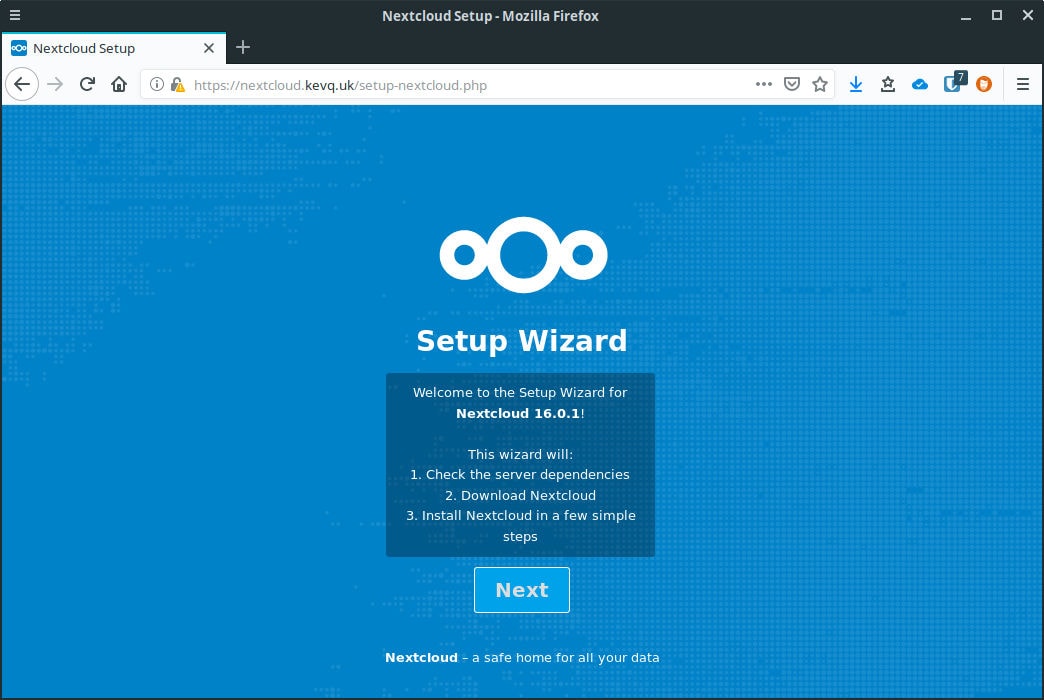
Click Next on the welcome screen to get started with the install wizard.
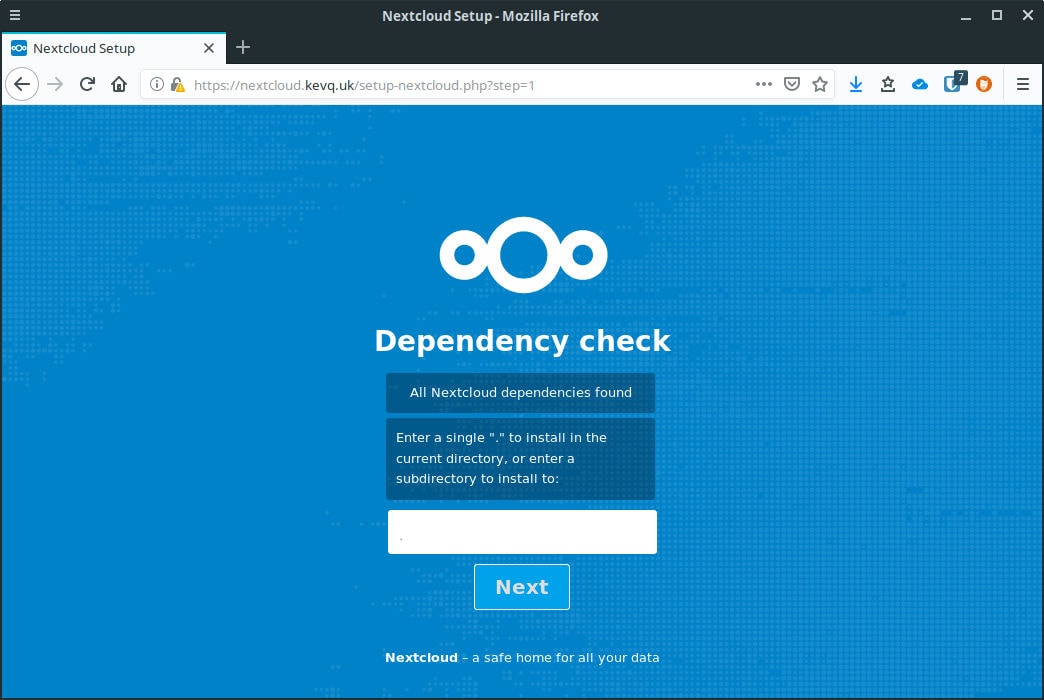
The installer will then run a dependency check to make sure your shared hosting account has everything it needs for Nextcloud to work.
You will also be asked which directory you want to install Nextcloud in. By default this will be your-nextcloud.domain.com/nextcloud. Personally, I change this field to be a single dot, so that Nextcloud is installed to the top level of the domain.
That way, you don’t need to go to /nextcloud every time you want to visit your instance.
After a minute or so, you should see a message saying the installation was successful.
Click next again to configure your admin account, then click on the down arrow next to where it says Storage & Database.
Leave the data folder unchanged, select MySQL/MariaDB and enter the database details you noted down earlier.
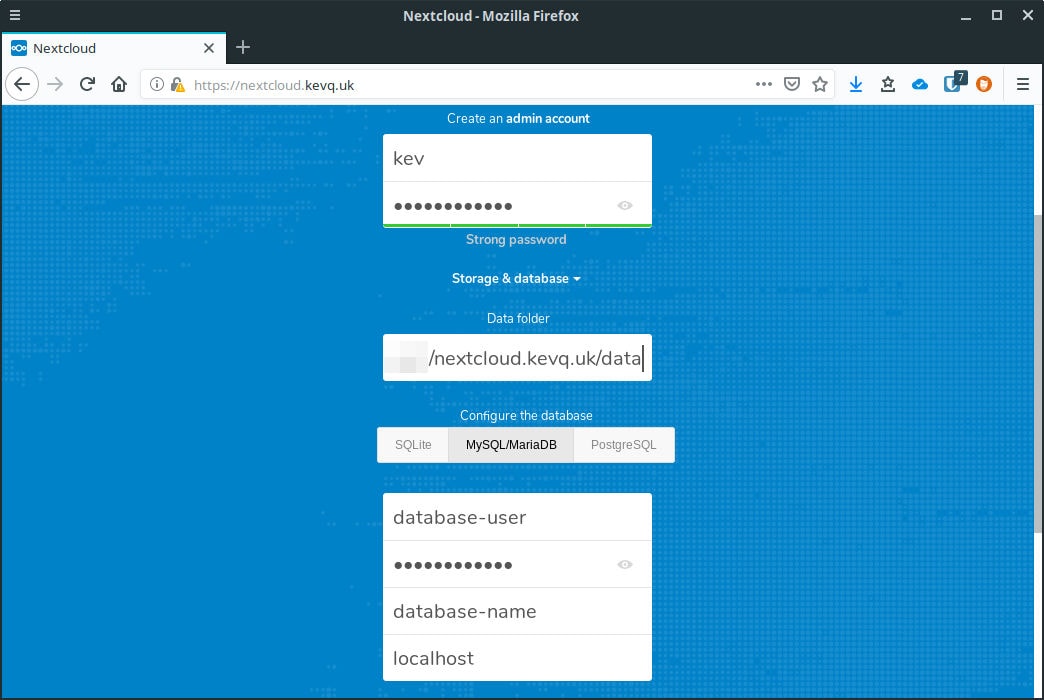
Finally, click Finish Setup and after a minute or so, you should be greeted with the files interface for your brand new Nextcloud instance.
If you decide to install Nextcloud on shared hosting, I would strongly recommend enabling Server-Side Encryption. This will protect your data in a shared environment. You can enable it from Settings > Administration > Security.
Conclusion
Congratulations, you just installed Nextcloud on shared hosting; I told you it was easy!
You can now start familiarising yourself with the Nextcloud interface and all it has to offer. You can also expand the functionality of Nextcloud by installing apps.